
Panel glue-ups present two main challenges. First, you need the mating faces of each board to be straight and square to achieve a gap-free glue joint. This is accomplished with a jointer (power or hand plane) or maybe your table saw if you have a good enough blade. The second challenge is to keep the boards vertically aligned under clamping pressure. If you're working with long, thin boards, you may find that they're bowed enough to introduce alignment problems towards the middle of the panel. Even if all the boards are perfectly flat, they can drift out of alignment while the glue is wet. There are ways to solve these problems. You can pile on more clamps and cauls to force the boards into vertical alignment, but that can be difficult for large panels. You can clamp the boards and then try to hammer them into alignment, but that isn't a reliable method – nor is it graceful. You can also start with thicker boards and plane out the excess after the glue-up, if you have a big enough thickness planer, or enough skill and patience with a hand plane. Or you can try 4-way Equipressure clamps.
How Equipressure Clamps Work
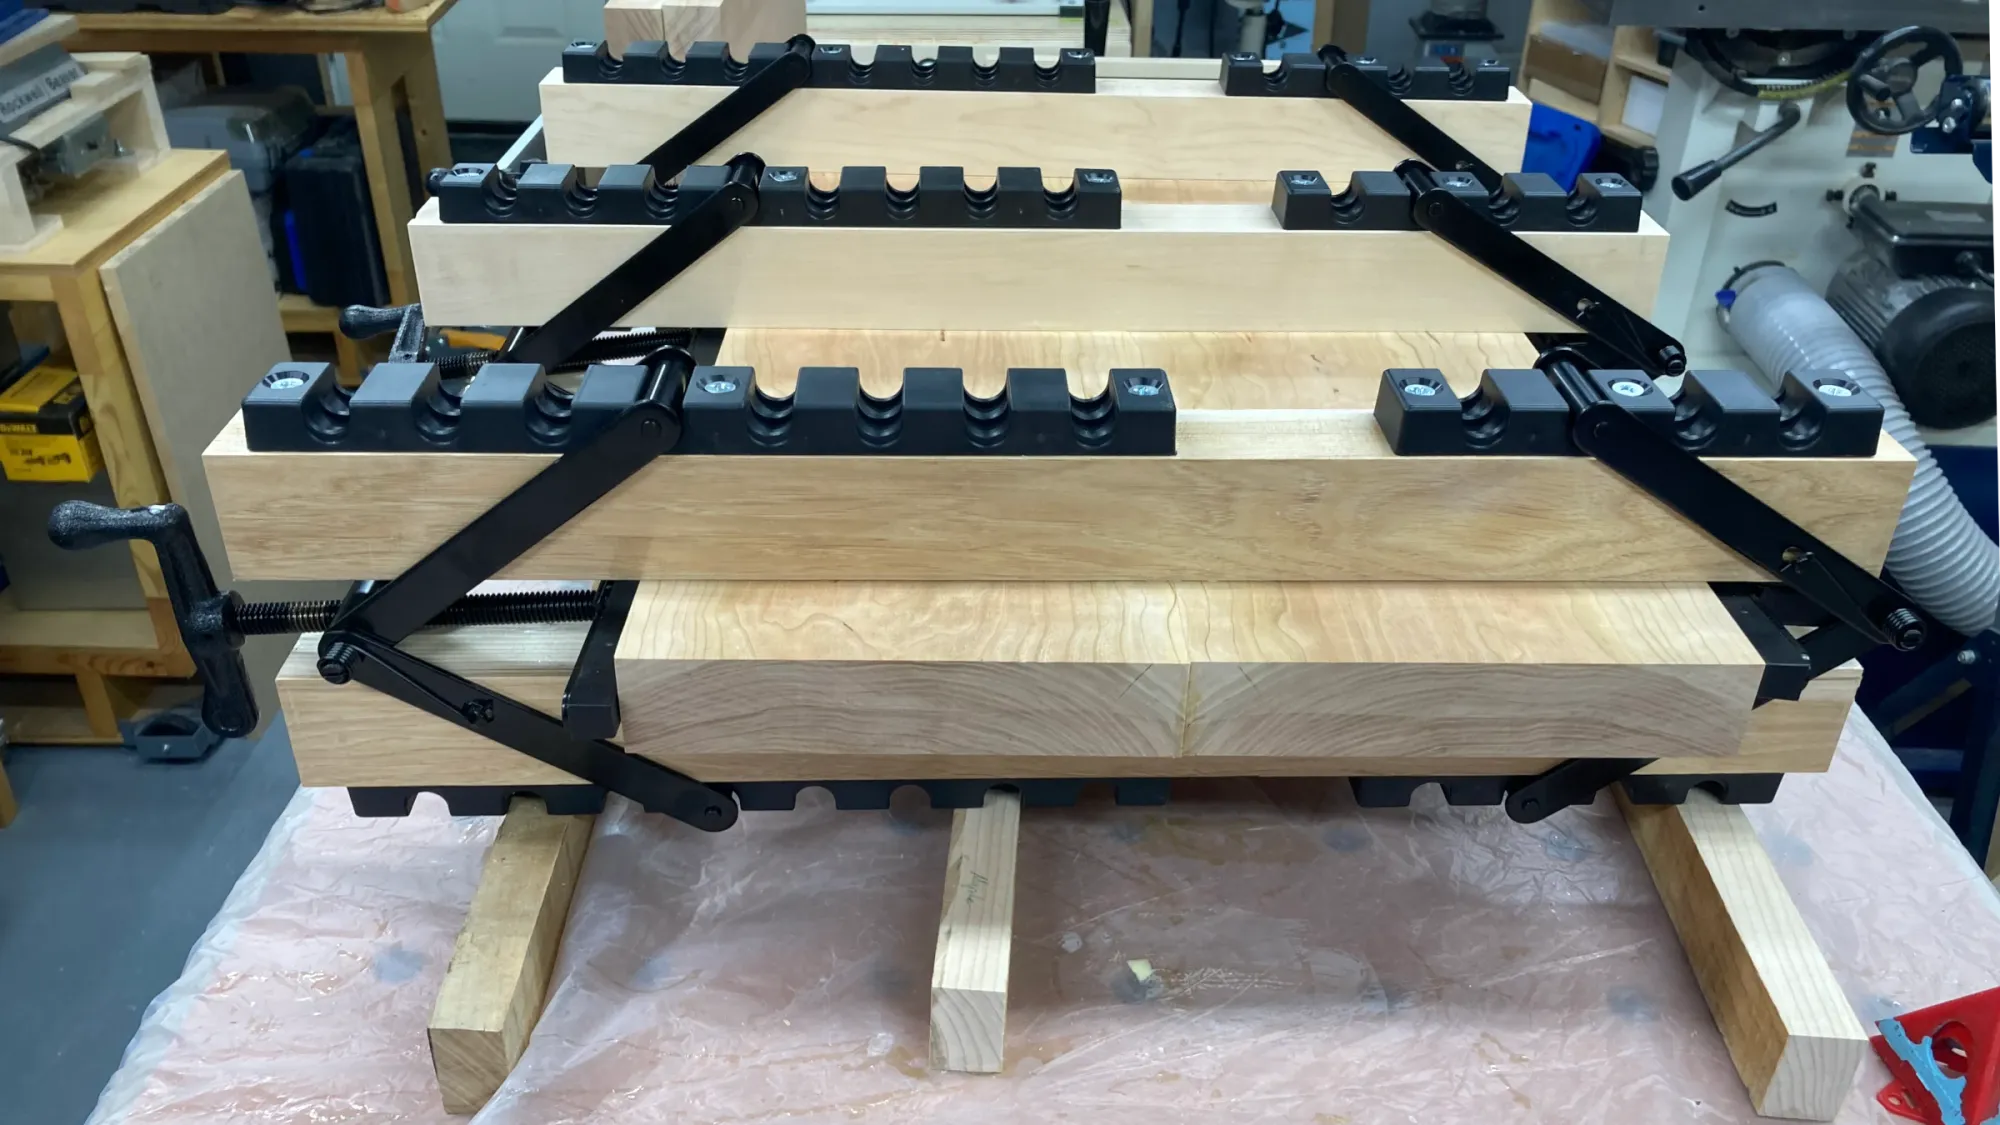
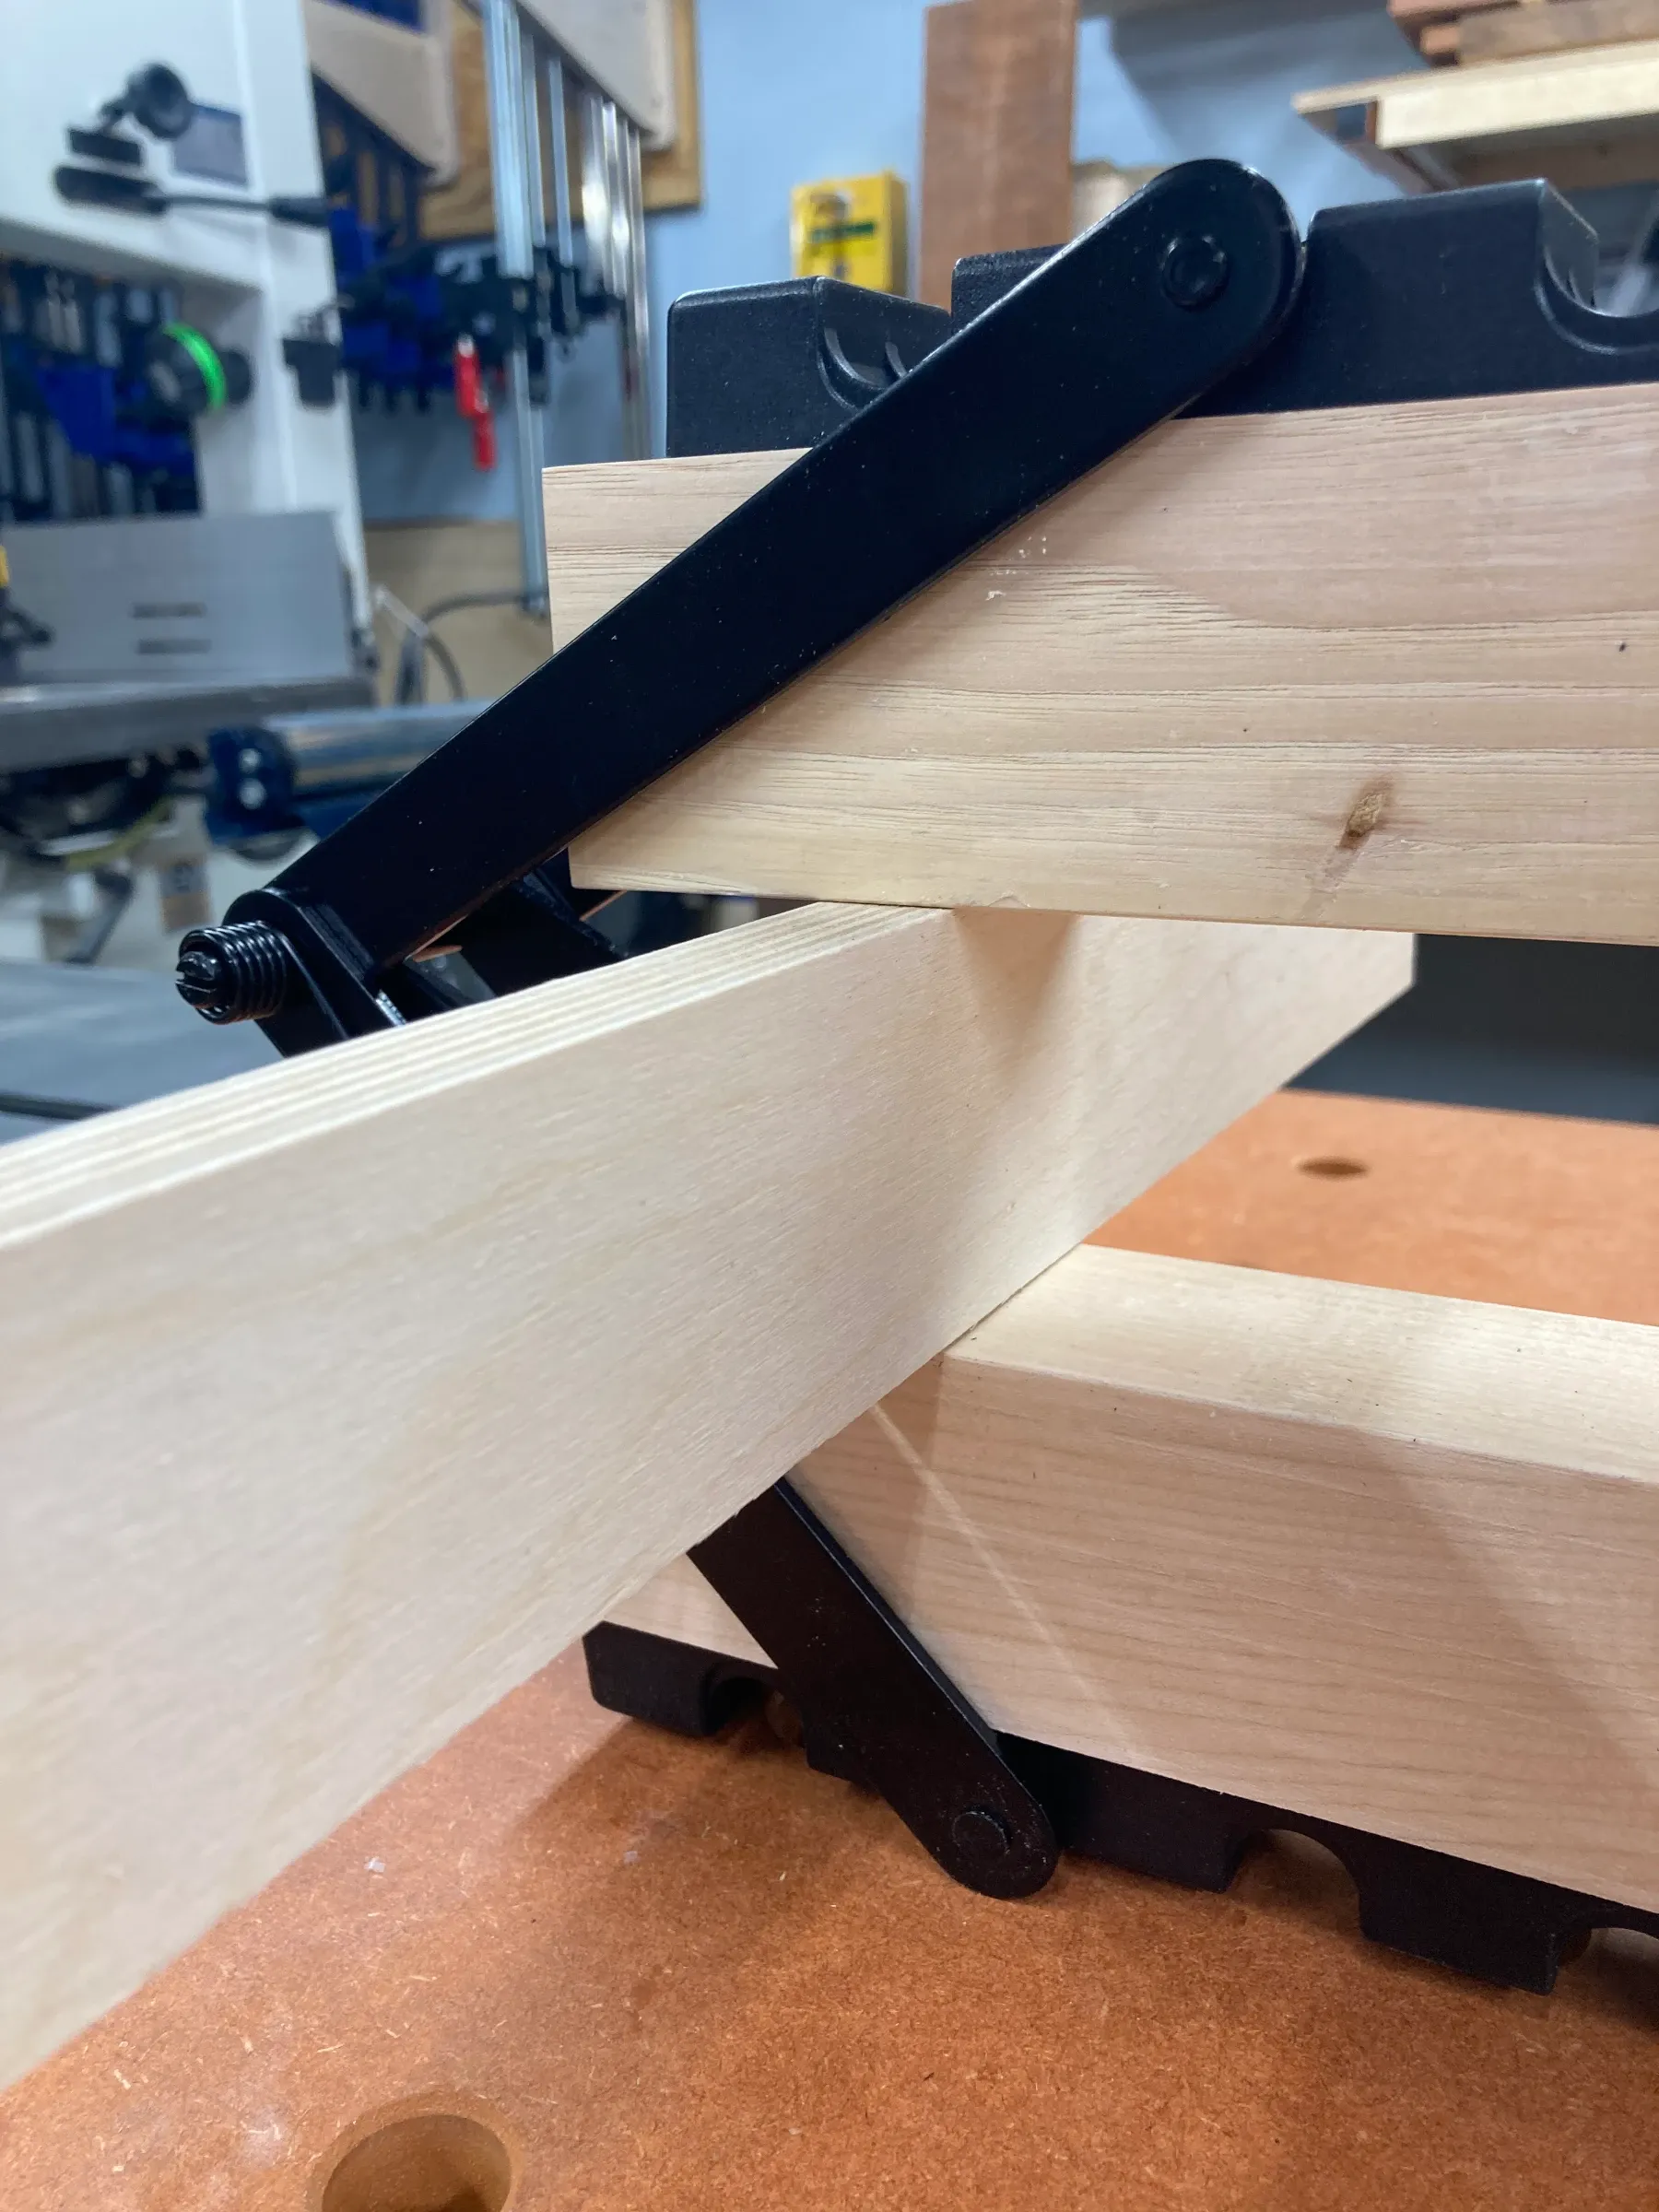
The idea behind these clamps is simple. The two ends of a screw clamp are connected by bars that sit above and below the boards to be clamped. Tightening the screw applies horizontal pressure to join the boards while drawing the bars together to force the boards into vertical alignment. This is basically a streamlined version of the "more clamps and cauls" approach I mentioned above, and it works quite well in practice, at least for my purposes. A tool can be very effective in one context but fairly useless in another. When someone tells you that a tool works well, it's important to understand their test parameters so you can determine how they align with your own. Here are my parameters:
- I'm using these clamps to join guitar body blanks, which generally consist of two boards. I haven't tested these clamps on a large panel glue-up.
- I'm working with fairly thick hardwood stock. The minimum thickness is generally around 1-5/8" (41mm) and the boards are freshly surfaced on four sides. I'm using the clamps to keep the boards from slipping out of alignment more than to correct for distortion.
Your situation and needs may be different than mine, so take that into account when you decide whether or not to try this product.
Assembly and Use
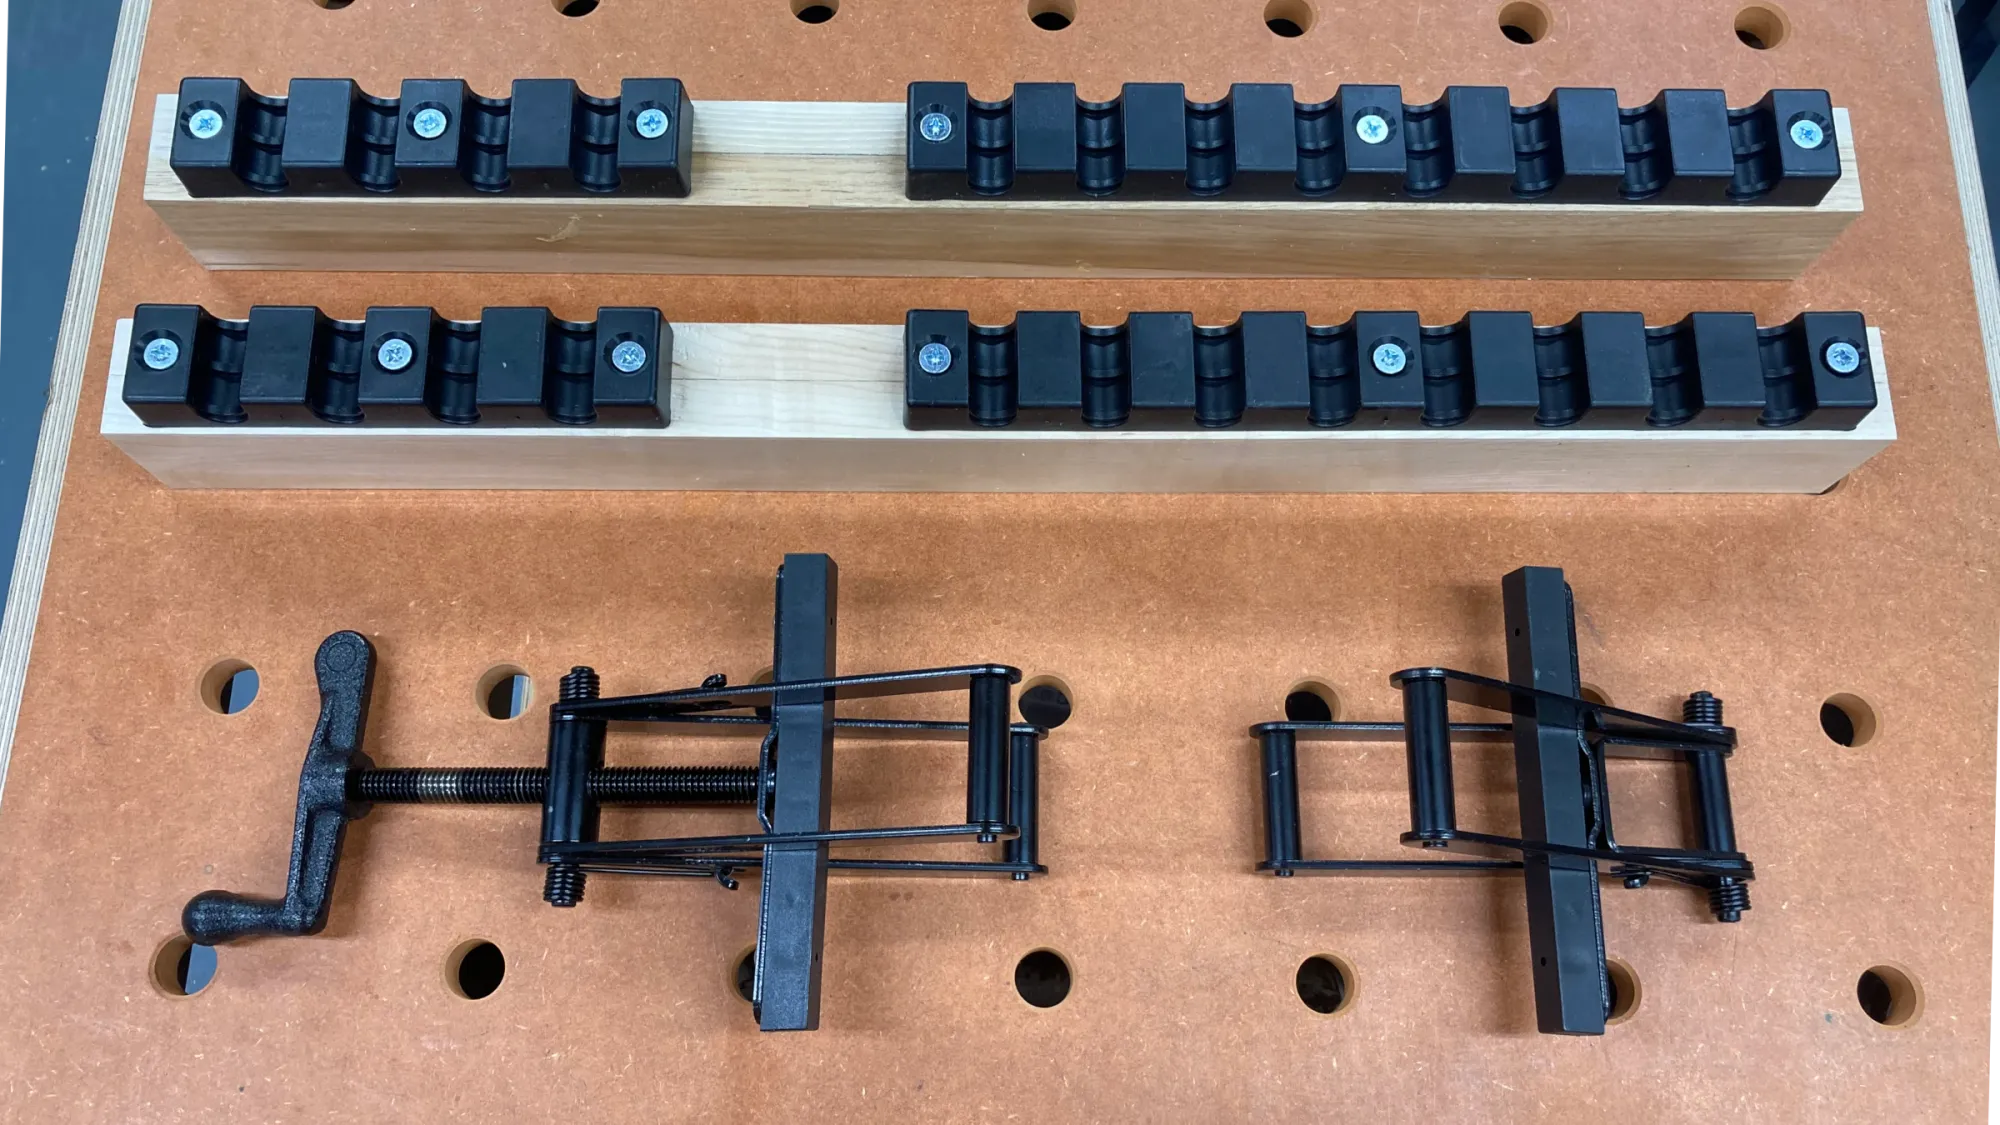
Each clamp consists of two spring arms, one with a screw and the other with a fixed caul, and four brackets (two long and two short) that mount to bars that you provide. I milled my bars from rough 8/4 (2"or 50mm) maple to ensure that they would be as hard as, or harder than, most of the woods that I would be working with. You can make your bars as long as you need them to be. I chose 24" (around 600mm) for guitar body blanks and other small panels. The important dimensions are the width and height of the bars, which can't exceed 1-5/8" (41mm) and 2" (50mm) respectively, for the bars to fit through the spring arms. (Similar clamps are offered by several vendors and sizing may vary, so be sure to verify the clearance on your own spring arms before you make your bars.) Mount the brackets to the bars using the supplied hardware, using a long bracket on one end of each bar and a short one on the other. Finally, line the bars with packing tape to prevent glue from bonding to them.
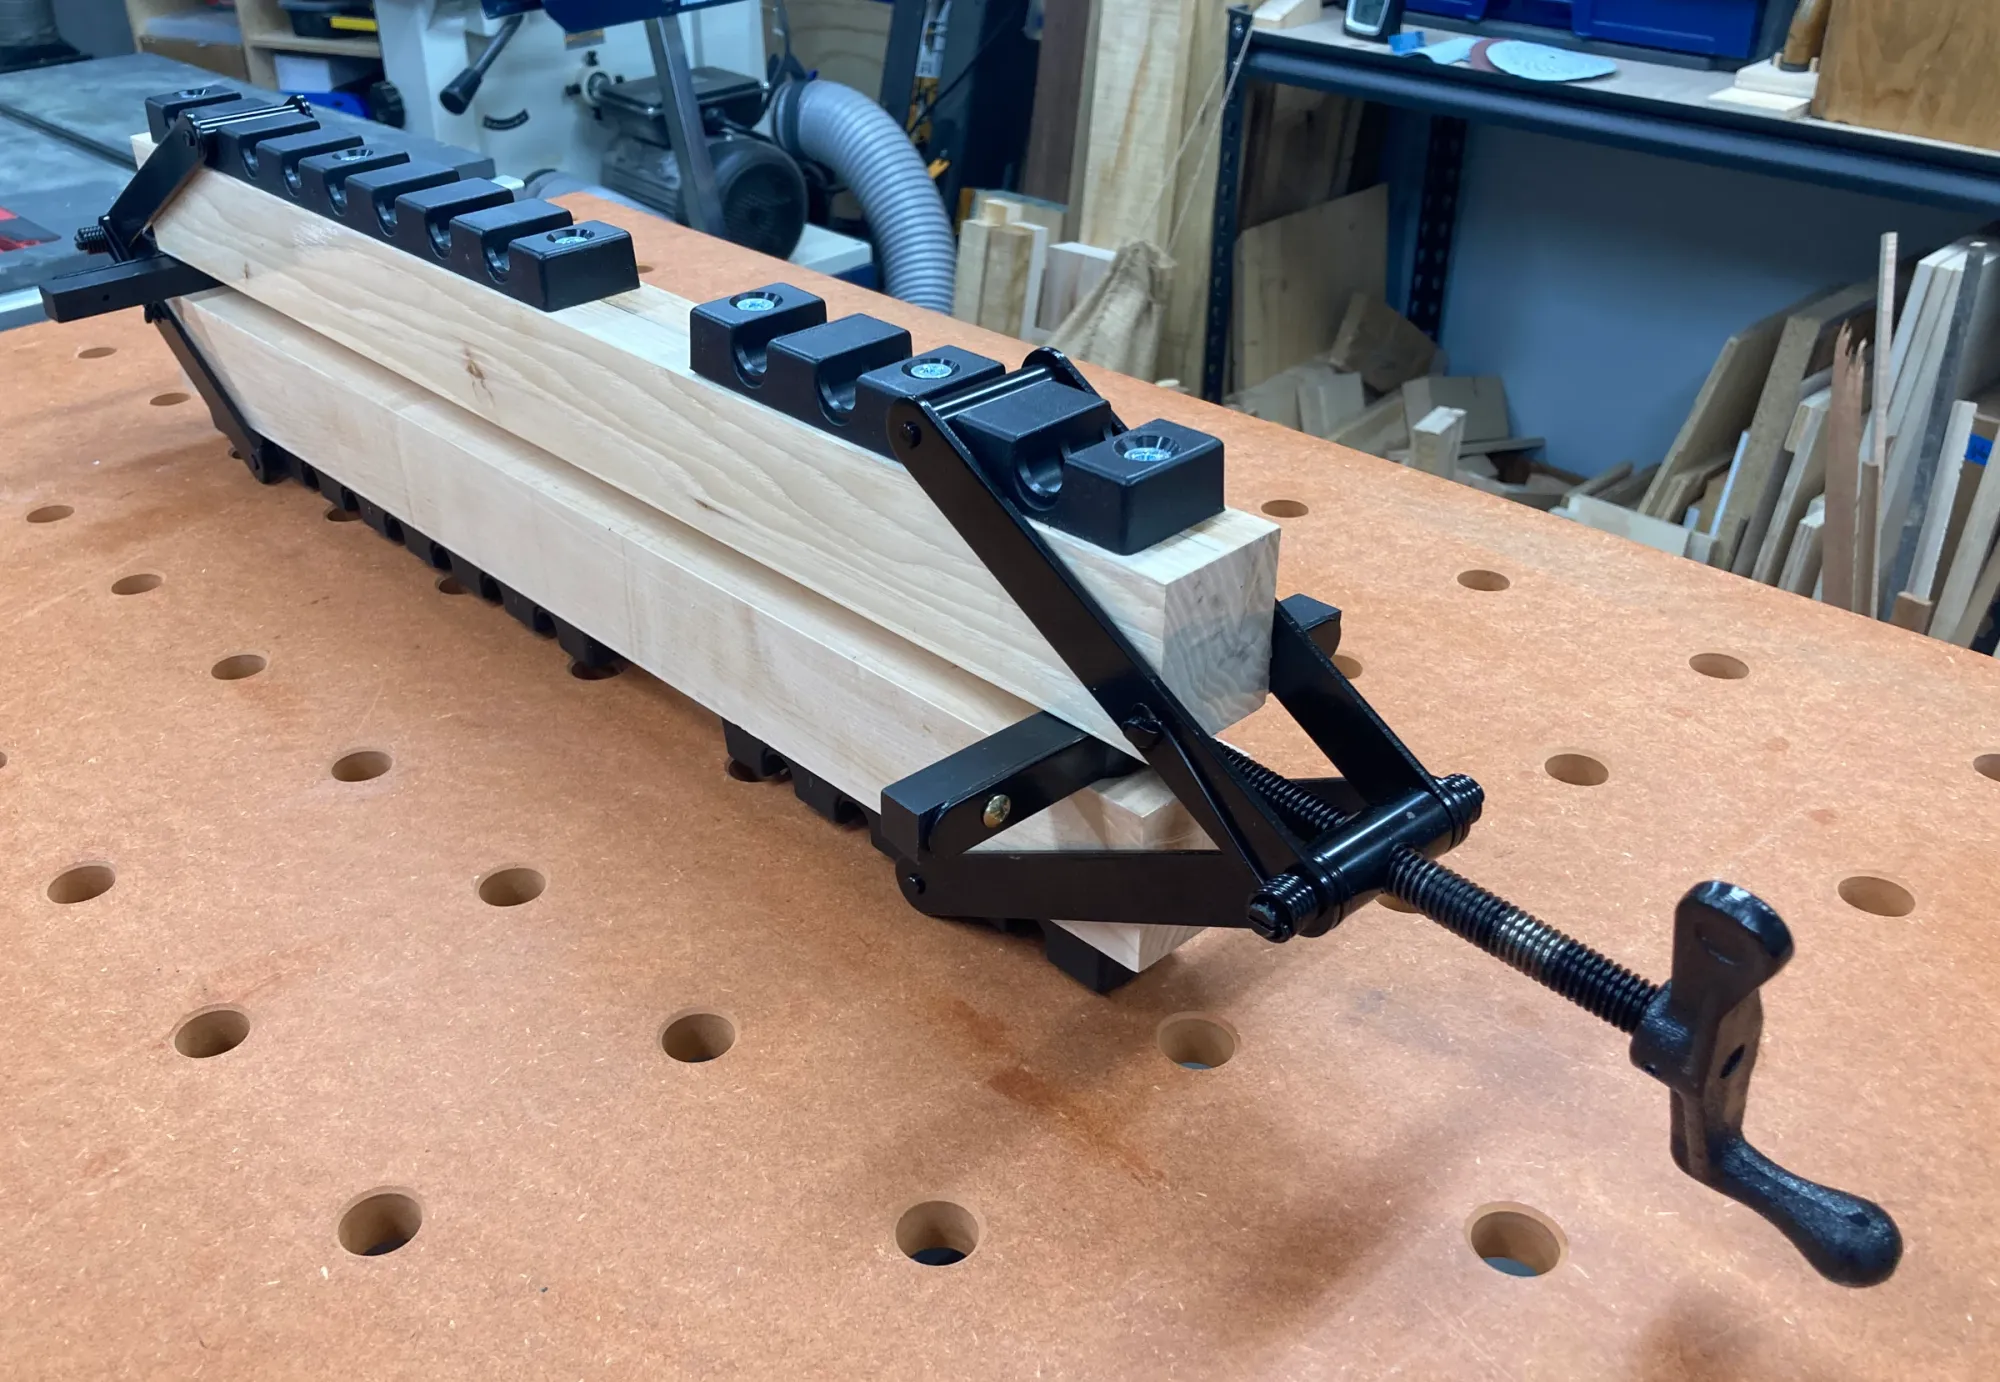
To use the clamps, place one bar from each clamp on your bench with the brackets facing down. Arrange the boards for your panel across the bars, without glue. Place the other bar for each clamp across the top of the boards, with the brackets facing up. Slip the spring arms over the bars and into the grooves on the brackets, making sure to use the same grooves on the top and bottom bars. Unwind the screws all the way and move the spring arms to the innermost brackets that will accommodate your panel while allowing some leeway. Tighten the screws to make sure that everything aligns properly. Once you've completed a successful dry run, you can slide the boards out of the clamps to prepare for glue-up. Unfortunately, this is where it gets a bit tricky.
If you read reviews of these clamps, the common refrain is that they're awkward to set up. In my experience that's a valid complaint but there are ways to improve the situation. First, elevate the bottom row of bars from your bench by an inch or two. It's much easier to move the spring arms if they aren't resting on your bench under the weight of everything else. Second, cut some strips of thin wood slightly wider than the thickness of your panel and use them as spacers between the top and bottom bars so you can slide the boards in and out without resistance. Insert the spacers before you slide the boards in and remove them before you tighten the clamps. After you loosen the clamps, slide the spacers back in before you remove the panel. (If you can find a set of small bar clamps that can be reconfigured as spreaders to lift the top bar, I imagine that would work well in place of the spacers.)
With the boards out of the clamps, you can apply glue to the edges, reinsert the boards into the clamps, remove the spacers if you're using them, double check that everything is aligned and tighten the clamps. Wait 5-10 minutes for the glue squeeze out to thicken before you scrape off as much as you can reach – it's cleaner and more effective than cleaning it up with water. Leave the panel under clamping pressure according to the glue manufacturer's recommendations. The minimum time is usually between 30 and 60 minutes, but I like to do up my panel glue-ups at the end of the day and leave them clamped until the following morning.
The Results
After using these clamps I've only needed a few passes with a card scraper to clean off any remaining glue and get a perfect joint on my body blanks. The 4-way Equipressure clamps are a bit difficult to set up at first, but in my opinion the results are worth the effort.
Thank you for reading!
If you found this post helpful, please consider supporting me by subscribing or sending a tip. It will help fund my work and writing.
- Click here to subscribe
- Click here to send a tip