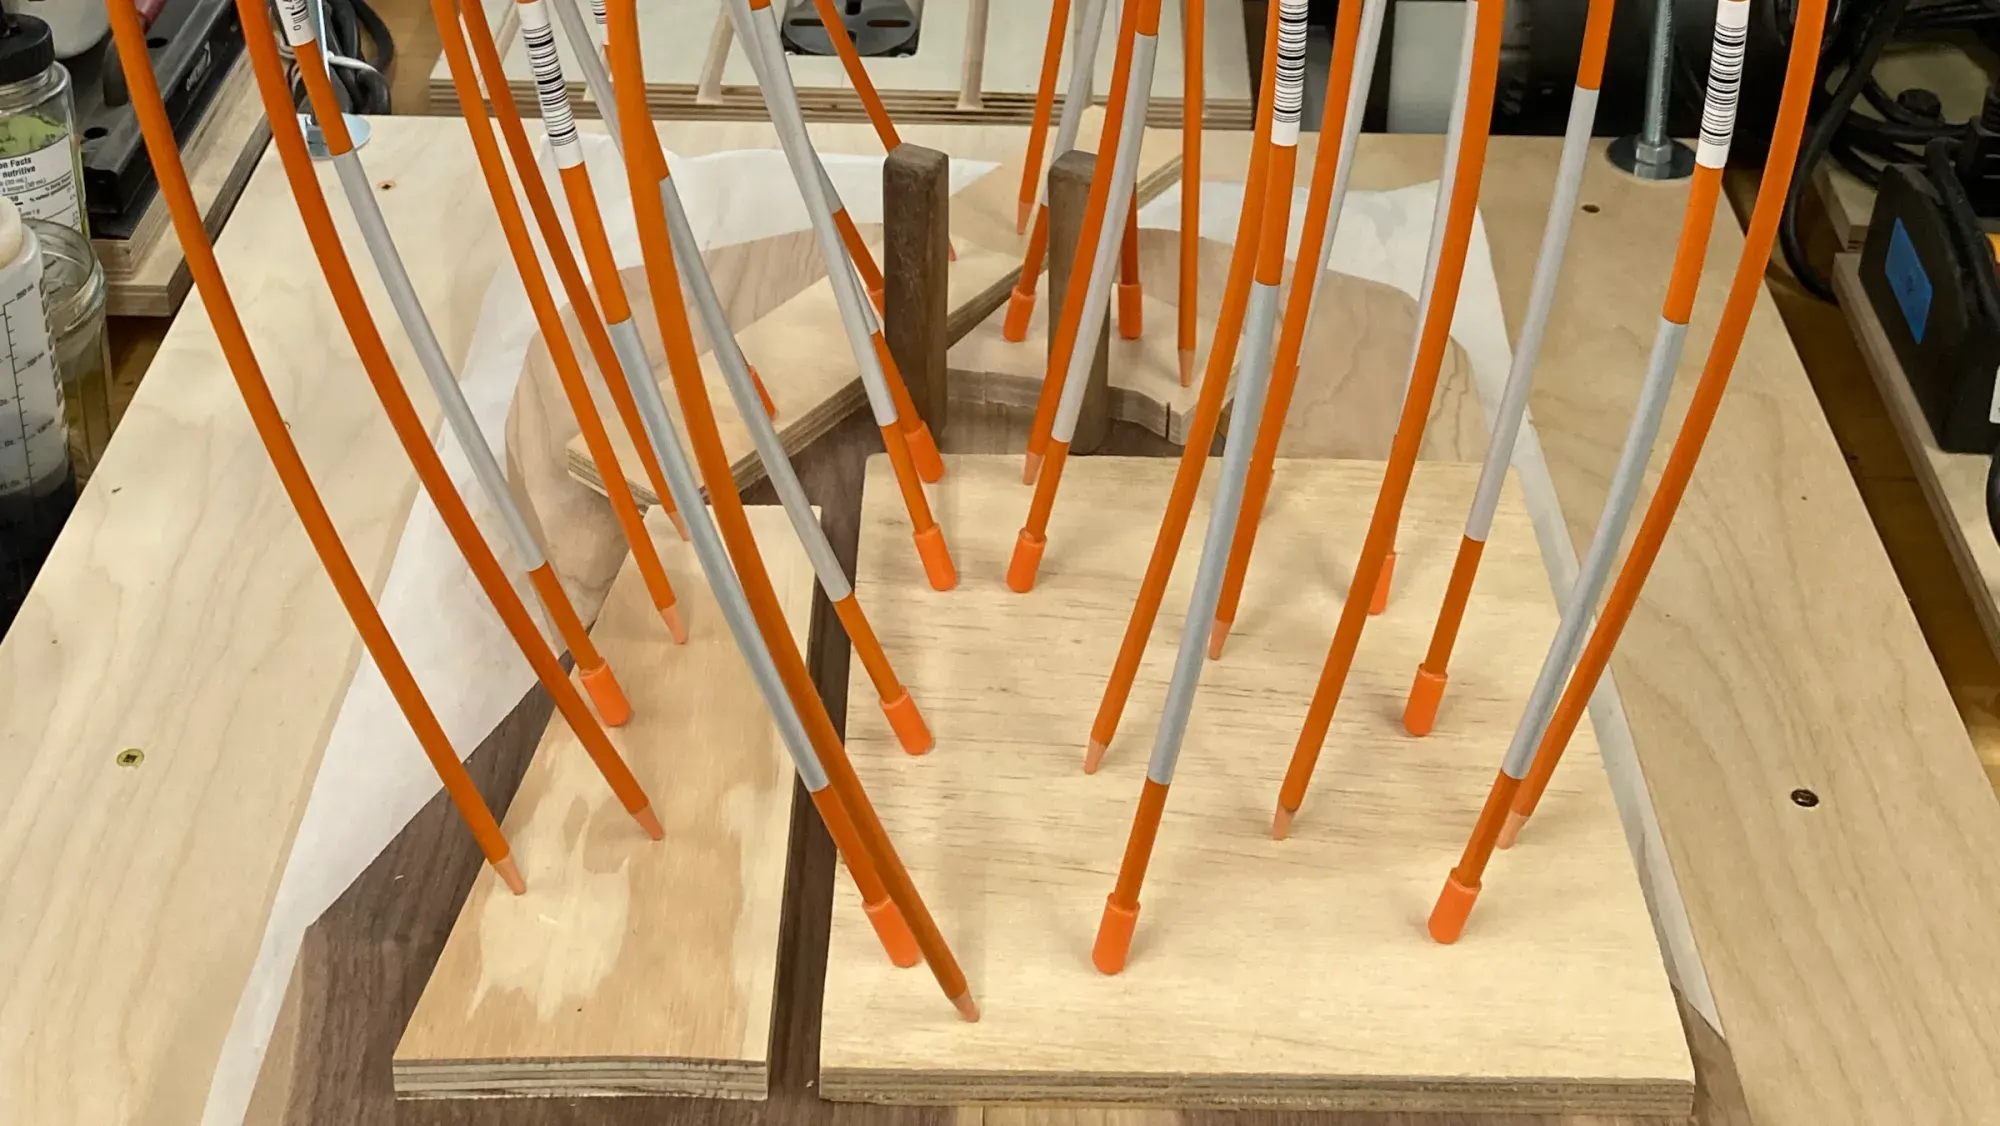
Some woodworking jobs call for clamping pressure to be distributed over a large area, or to be applied to a precise spot. If you're laminating a decorative top onto an electric guitar body, you need distributed pressure. If you're gluing bracing to the inside of an acoustic guitar's soundboard or back, you need precision and distributed pressure at the same time. It's possible to handle both cases with regular clamps, but it's awkward. The go-bar deck provides a better solution.
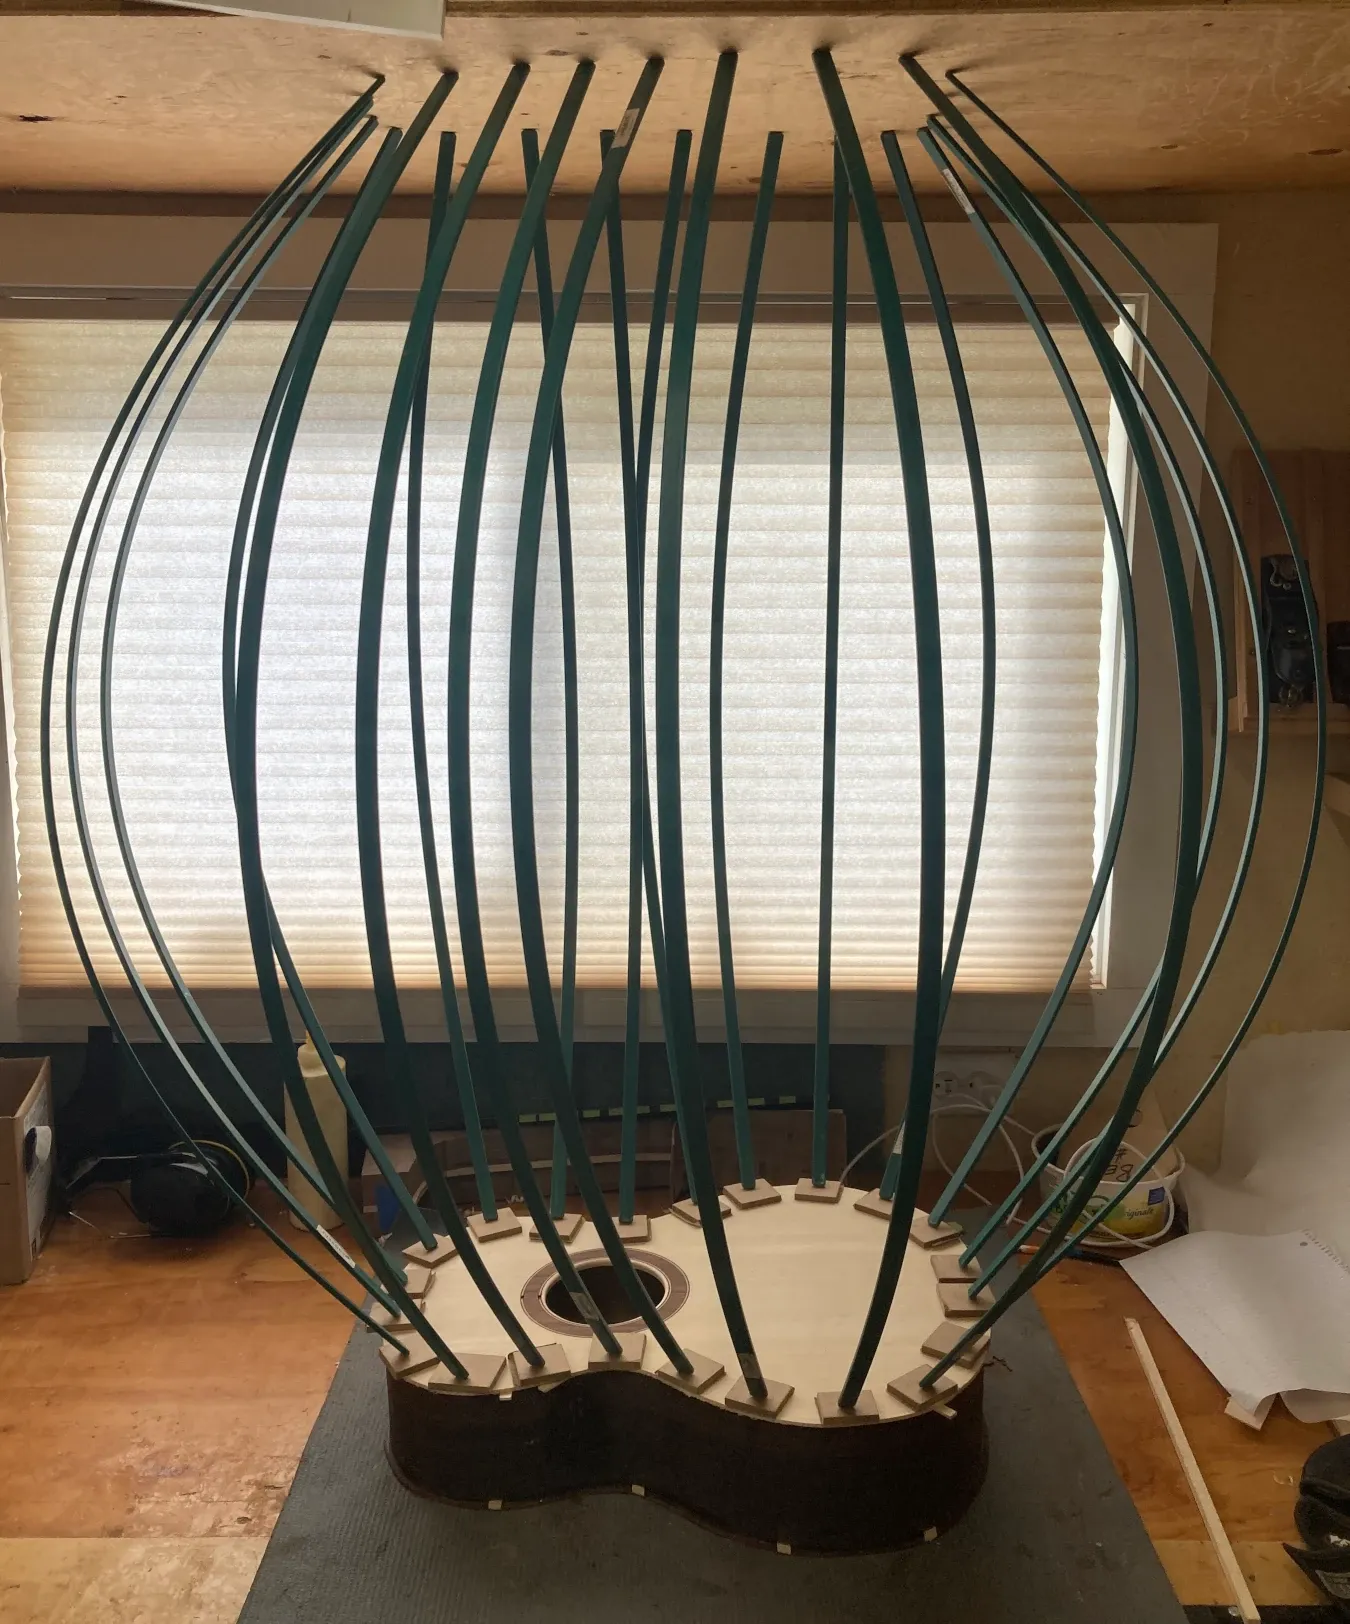
A go-bar deck consists of a base to support your work, a ceiling, and flexible bars (the go-bars) that compress between the work and the ceiling and create downward pressure. This is best described by a photo:
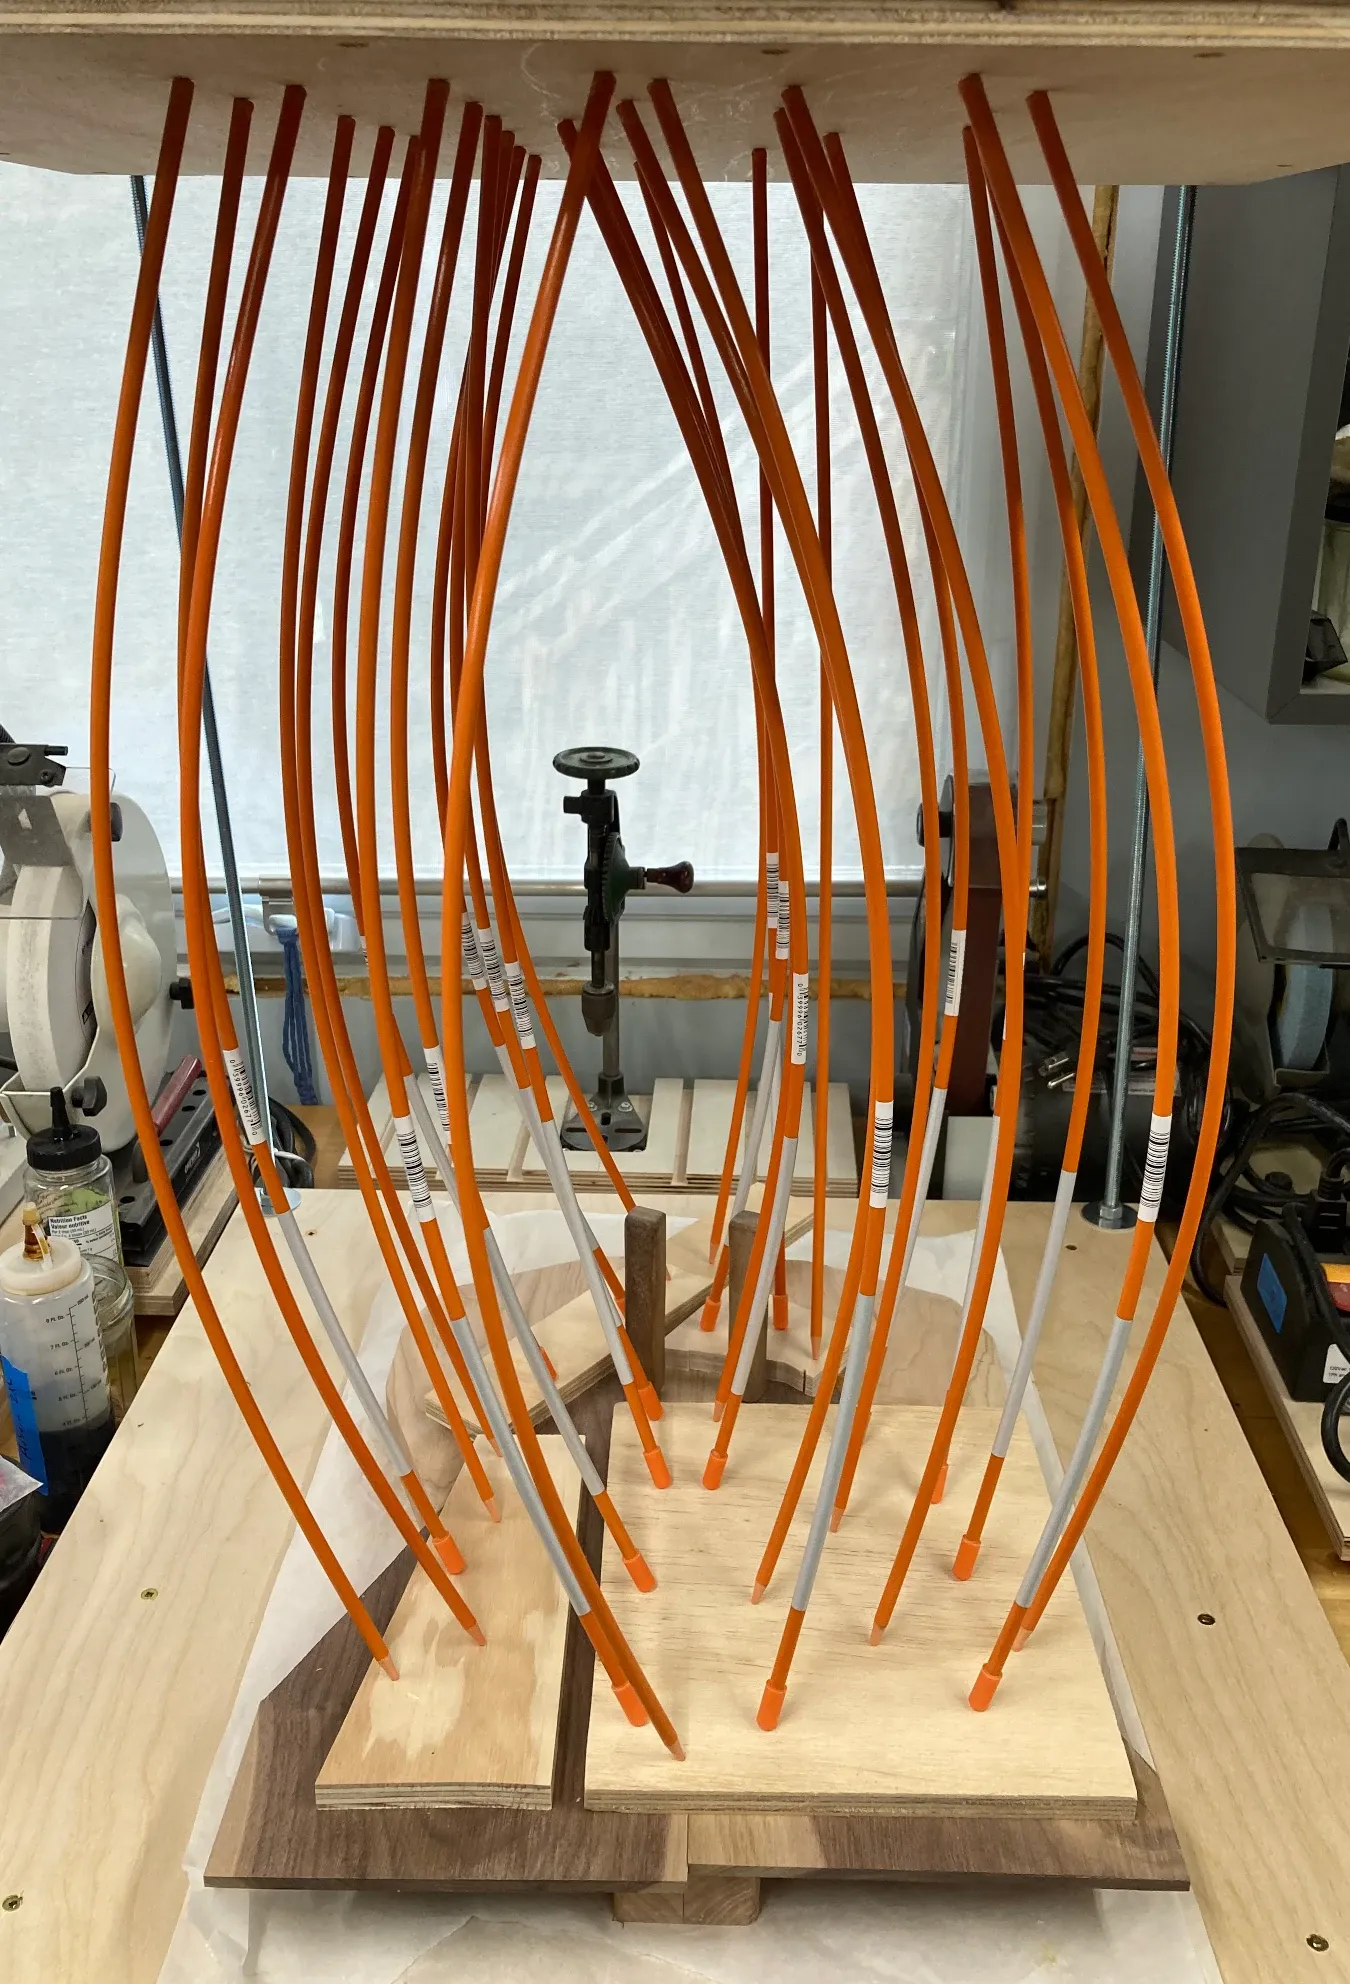
Go-bar decks have become ubiquitous in luthery but are rarely used by conventional woodworkers. This makes sense because a go-bar deck isn't really necessary or useful in cases where you can use mechanical joinery. However, it excels when you have to glue relatively flat things to other relatively flat things and work over large areas. You can buy a kit to make a go-bar deck from your favourite luthier supply company or you can make your own.
Traditional go-bars are made of bamboo. Bamboo has the advantage of being flexible, natural, and sustainable. The downside is that a bent bamboo rod will gradually learn its new shape and become less effective. That doesn't seem like it would be a deal-breaker if you live in a part of the world where bamboo is plentiful and inexpensive, and your go-bars would be easy to replace. I don't, so I'm using fibreglass rods instead. Fibreglass is flexible but wants to spring back to its original shape, so a bent rod will always return to straight. It's also very easy to obtain fibreglass rod if you know where to look. (More on that later.)
Maybe There's an Easier Way
The simplest and least expensive go-bar deck you can make might be your existing workbench and ceiling. At Blackwood Guitar Studio, the student benches were very sturdy and had equally sturdy built-in overhead storage racks. The distance between the benchtop and the bottom of the rack was somewhere around 1 meter (approximately 3-1/2 feet) which meant that we could use the benchtop and storage rack as the go-bar deck, and fibreglass tension rods made for chain link fencing (cut to a suitable length) as the go-bars. If your shop can accommodate this setup, it will be the easiest way to get started. Be mindful that the tension rods are capable of exerting a lot of force, so the benchtop and whatever structure you use as a ceiling have to be very strong.
I have a bench that would be suitable, but I don't have an overhead structure that would work as a ceiling. I'd have to build something and dedicate that space to the go-bar deck. That isn't reasonable in my small shop. I need a solution that is compact and can be taken apart for storage when I need to reclaim some space.