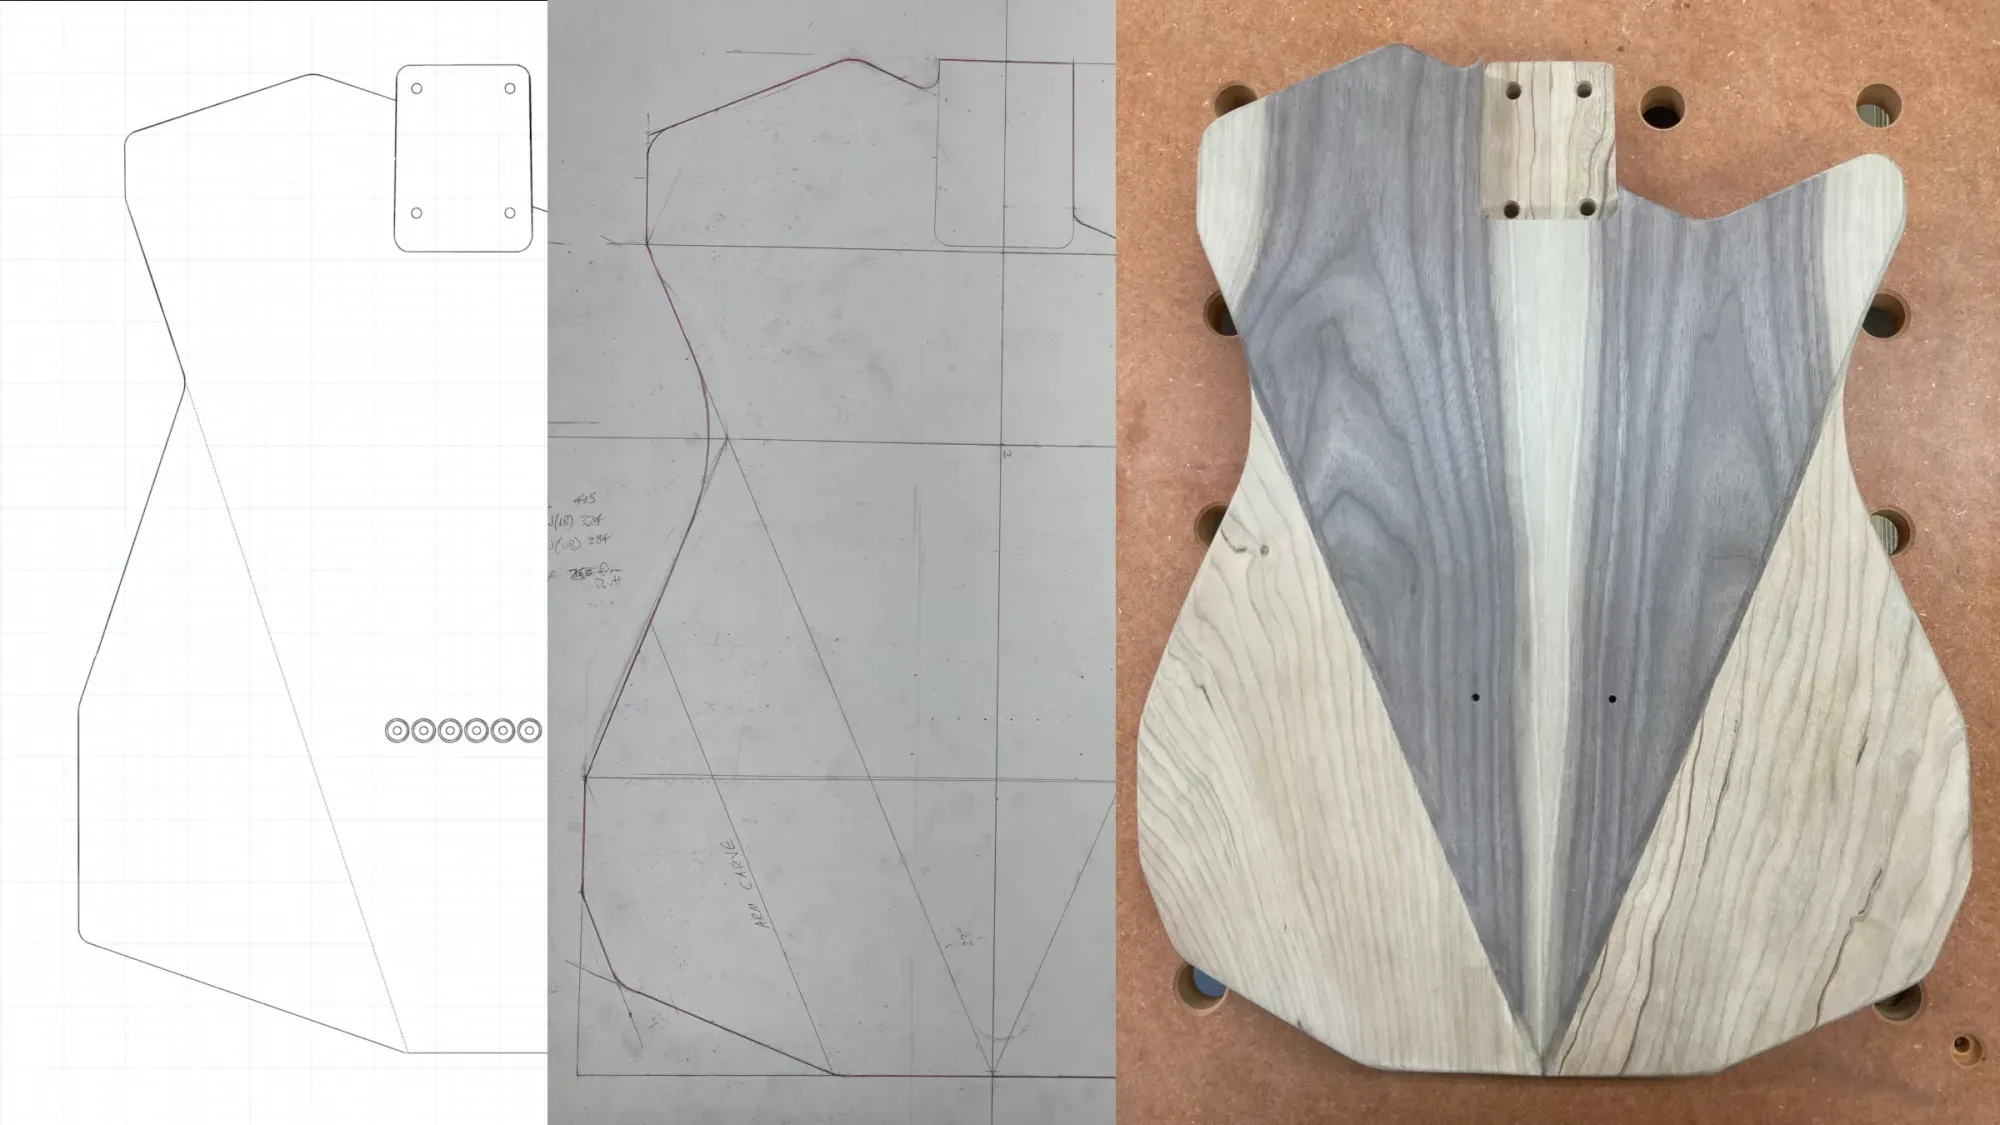
Back in the Spring of 2020, when I was just starting to take woodworking seriously as a hobby and before I started building guitars, I sketched out an angular variation of the classic T-style design in an iPad drawing app. (I'm going to use the term "T-style" here to keep out of Fender's crosshairs. If you don't already know what that means, it shouldn't be too hard to figure it out.) I started with a technical drawing of the T-style that I found on an online forum, scaled it to a 1" (25mm) grid and drew over it in another layer. The idea was to retain the basic T-style geometry but take the vibes in a different direction. Happy with what I had dreamed up, I sent the drawing to a print shop to have it reproduced at full scale. I received the prints a few days later and then did absolutely nothing with them for six years. I don't even think I took them out of the envelope more than once.
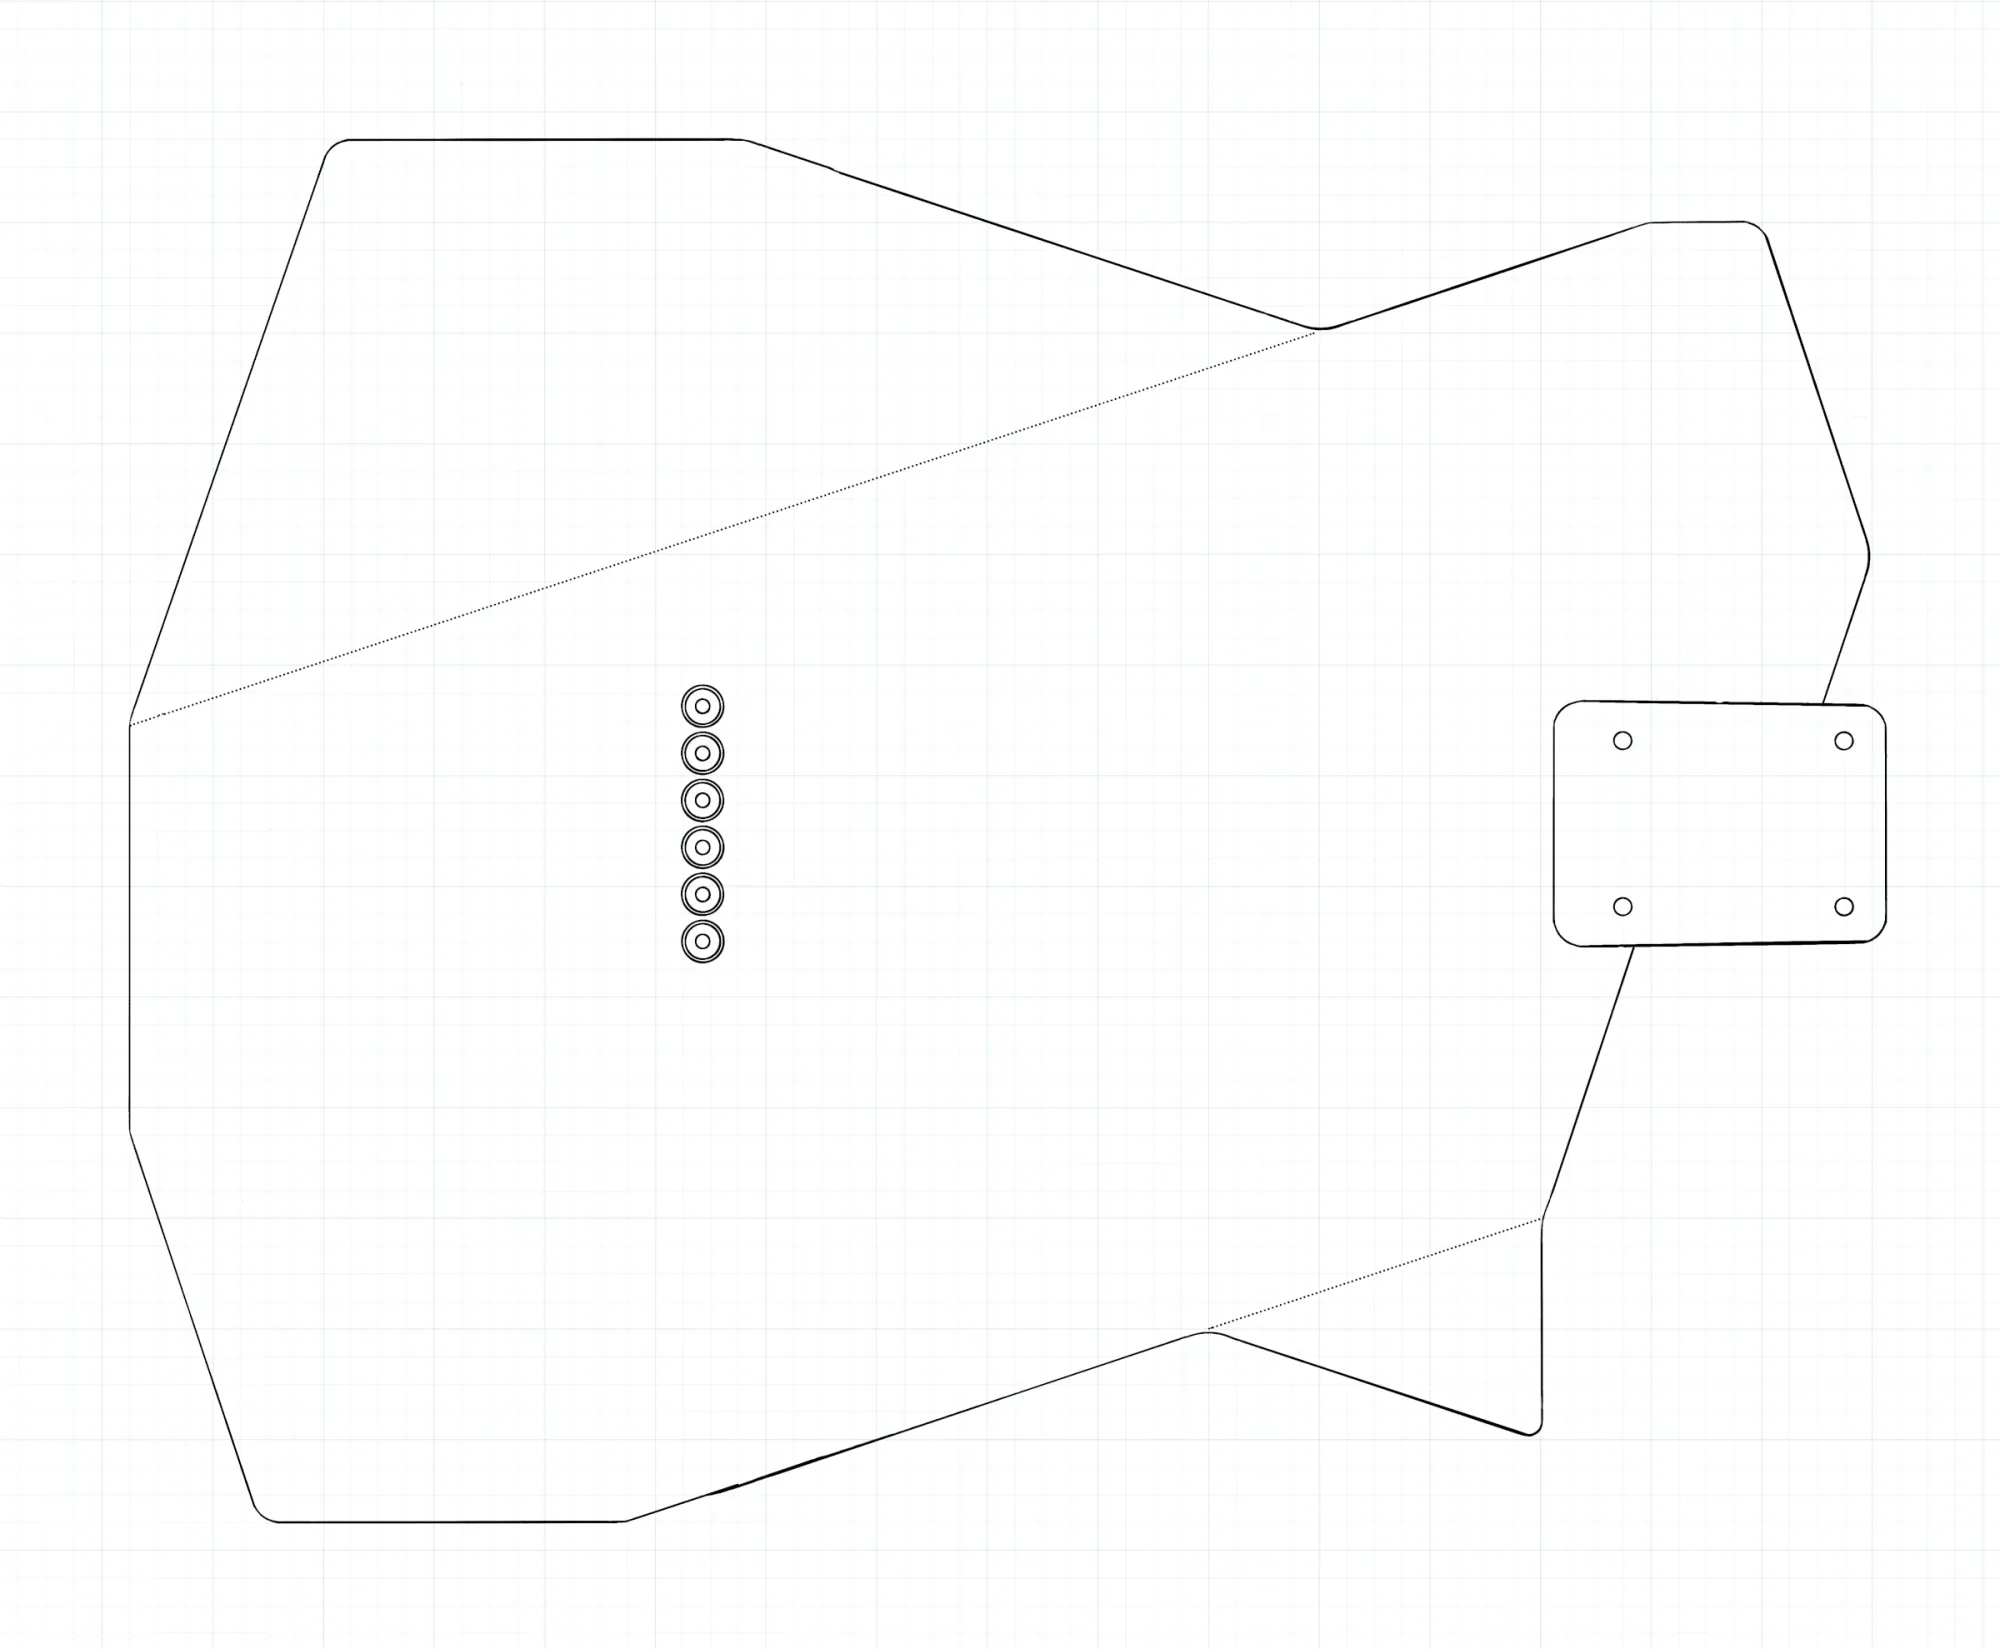
Fast forward to the Spring of 2026. I had now built a few guitars with aftermarket necks and was in the process of making my own necks for them. I was also gearing up for the acoustic guitar making course at Blackwood. It felt like the right time to pull out my old drawing and see whether it could become a guitar.
Making it Real
The first step was to create a new template. I laid an accurate T-style template (purchased from Potvin Guitars) over the scale drawing and transferred the centerline from the template to the drawing. I then cut out the drawing, laid it over a piece of MDF, and traced the outline and centerline onto the MDF. Finally, I aligned the Telecaster template with the outline and centerline on the MDF and transferred the bridge and string-through holes onto the MDF. With the complete geometry represented on the MDF, I double-checked that everything was correct, then cut, shaped and drilled my new template.
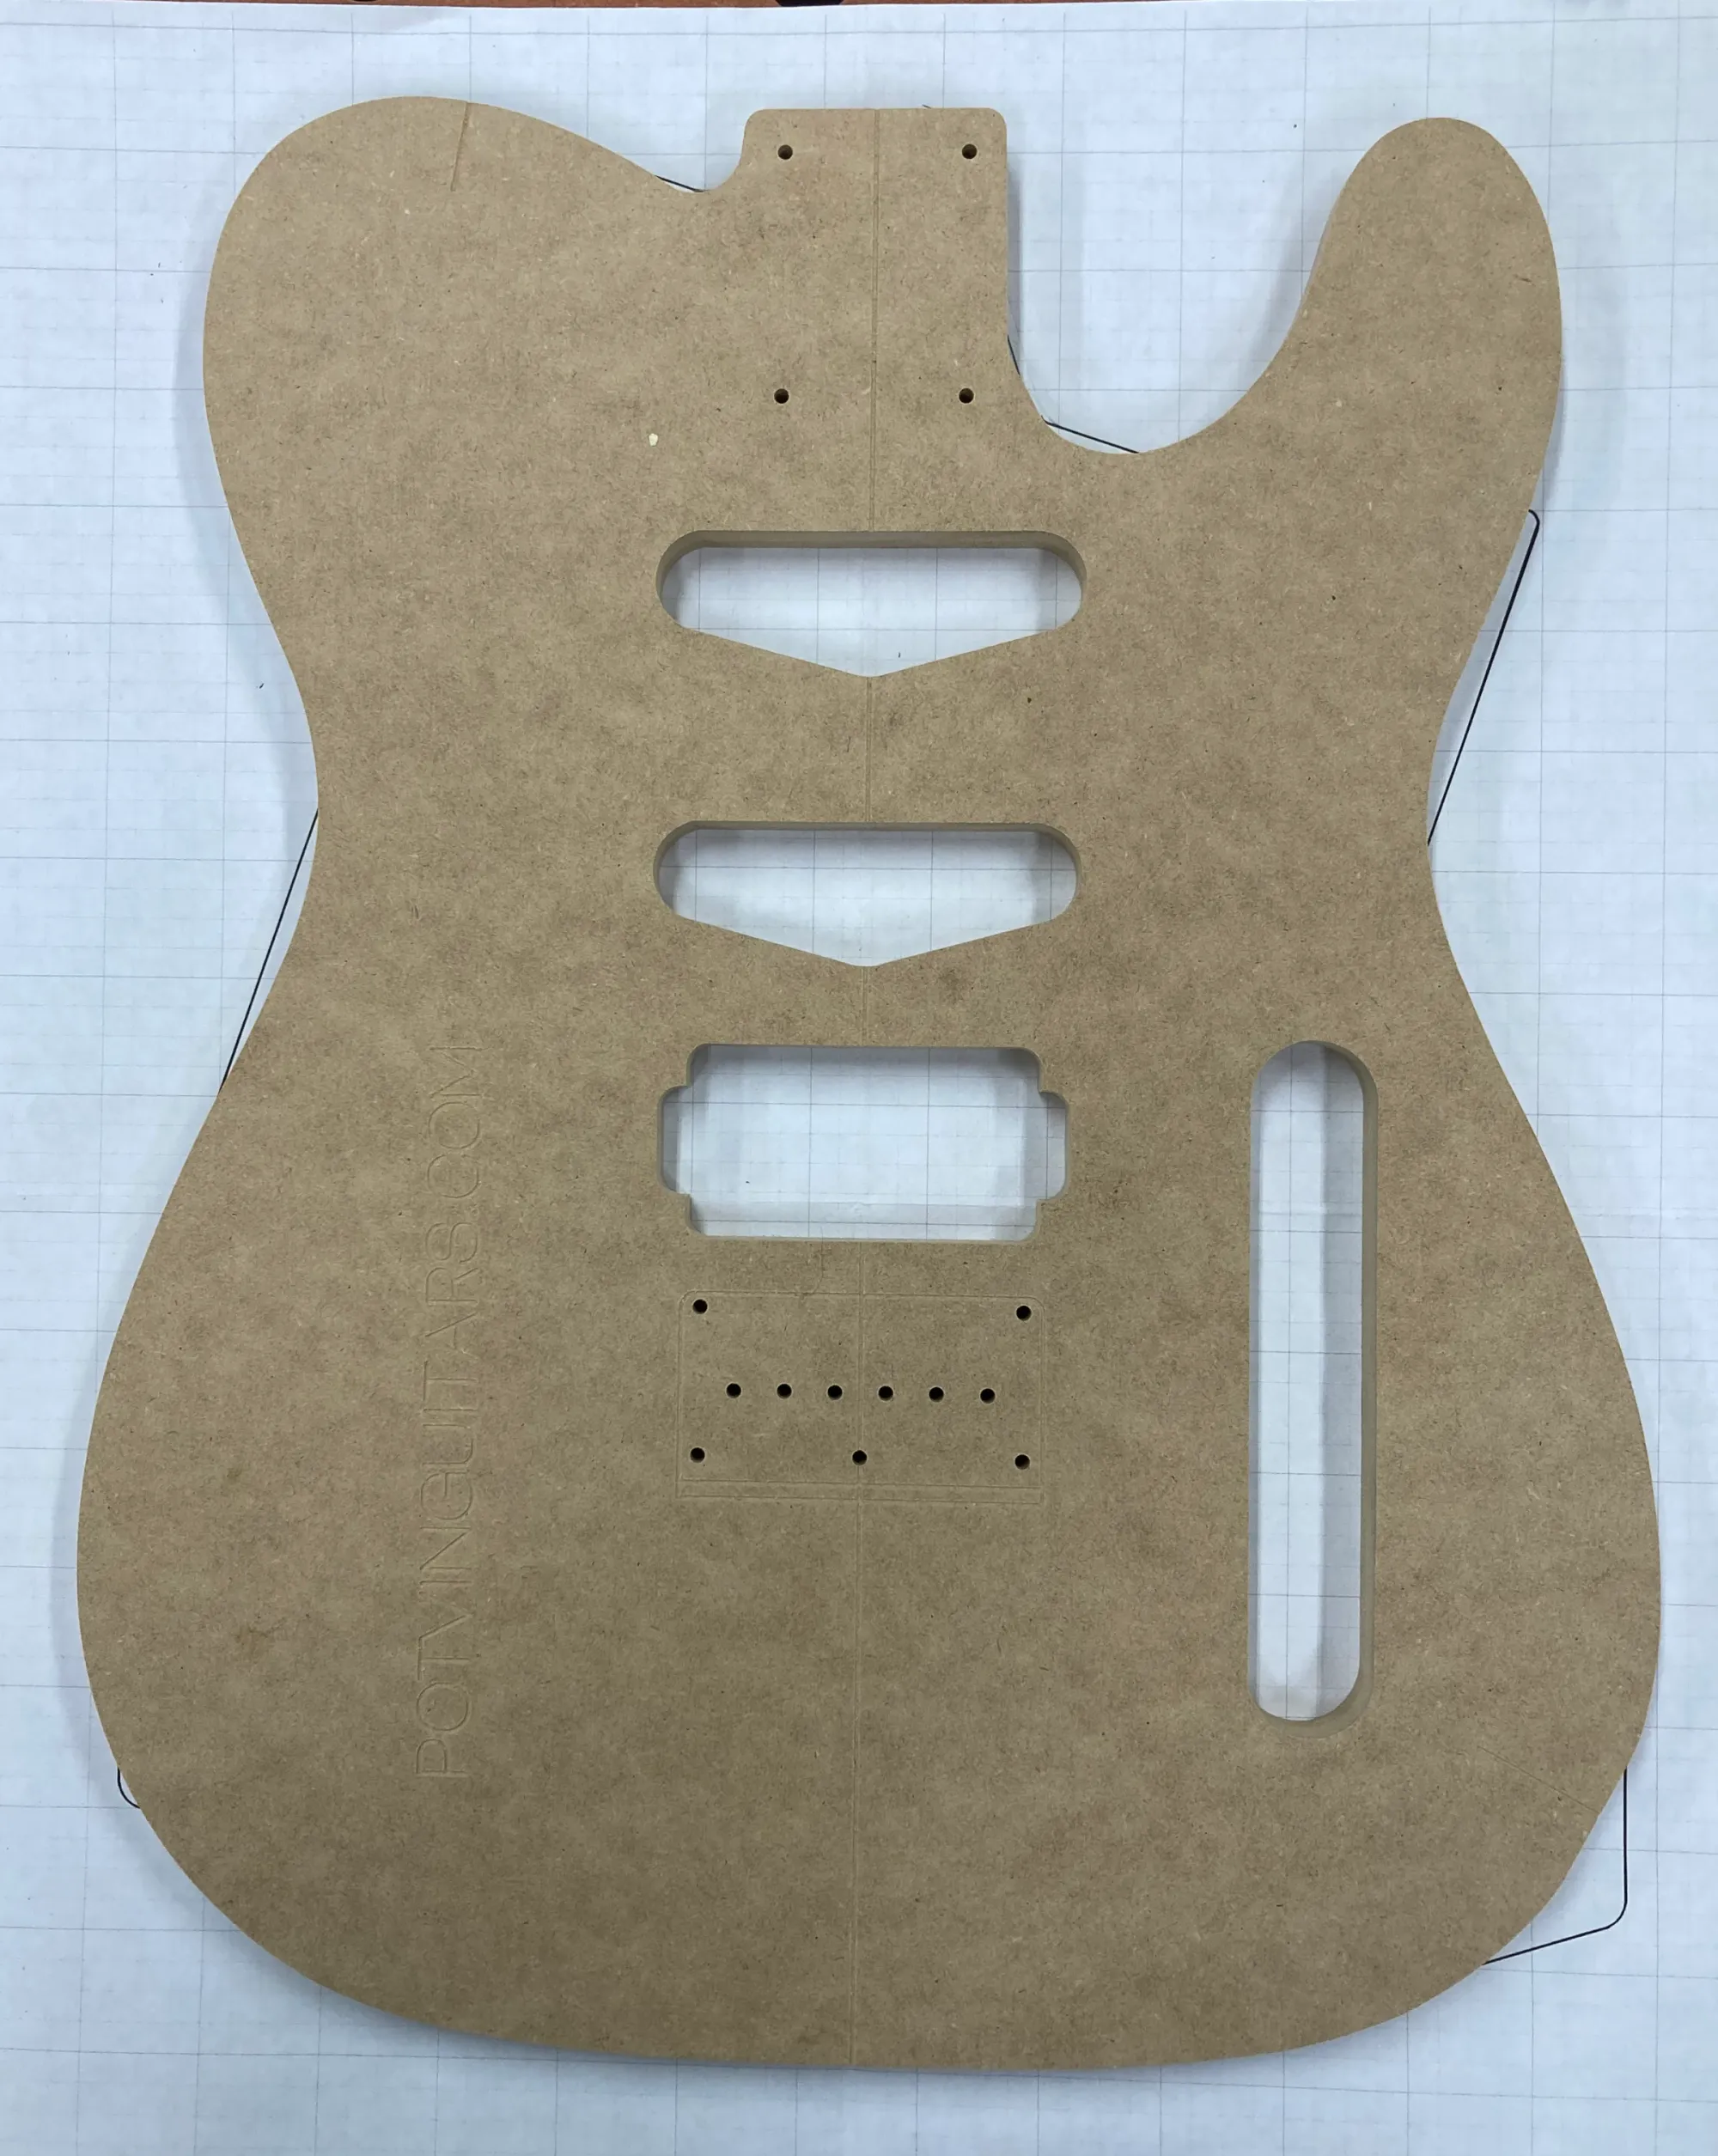
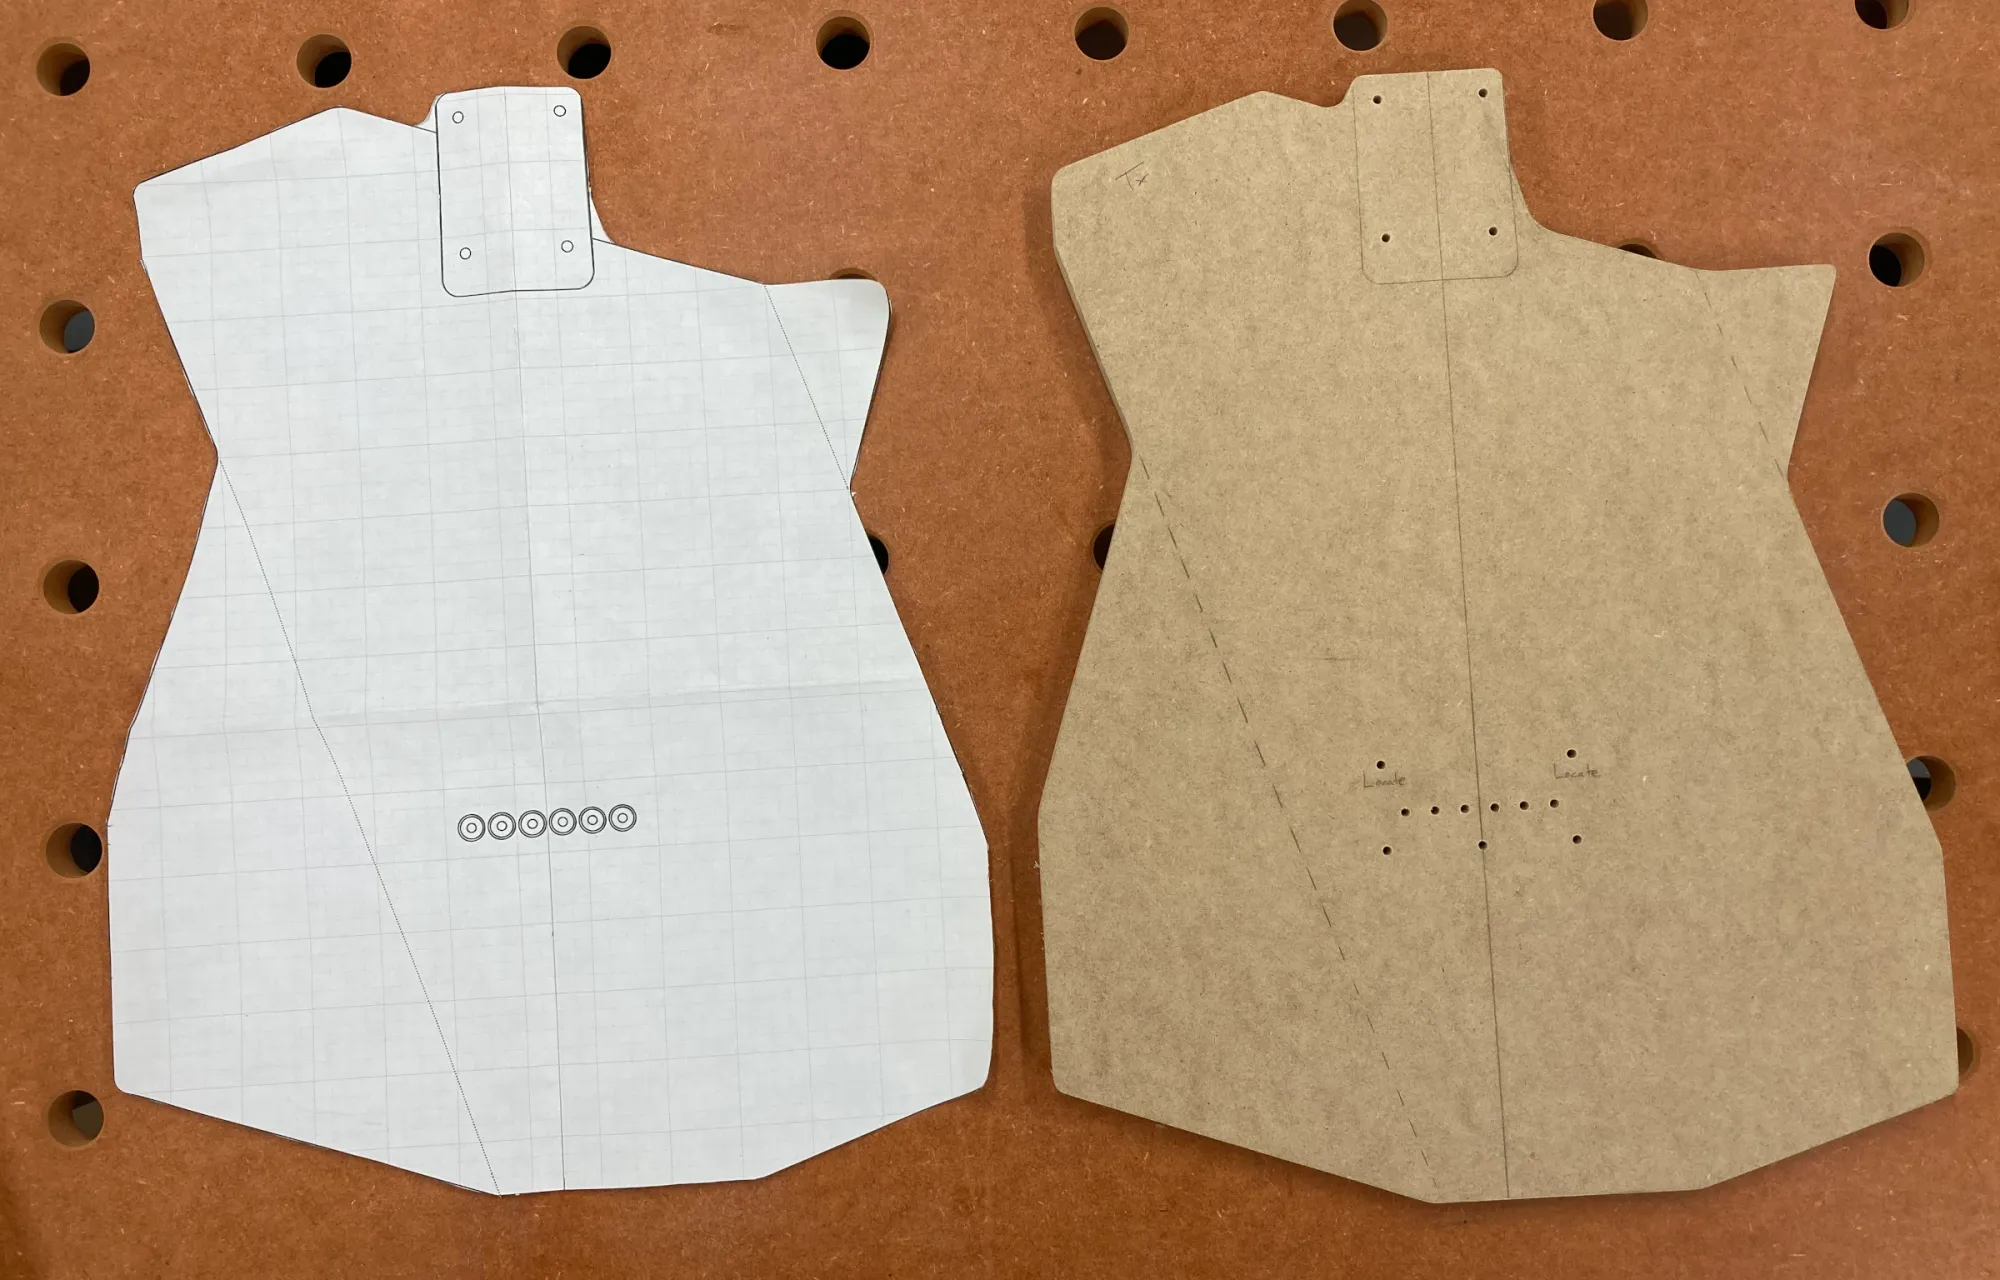
Next, I transferred the template onto a poplar body blank I had prepared for prototyping. Poplar is inexpensive and easy to work, so it's a good choice for this stage of design. (There's no reason you couldn't use it for a finished body, except that it's a bit heavy and usually looks plain.) I drilled the locating holes for the template, which are the outermost string-through holes for the bridge. I then rough cut the body at the bandsaw, located the template on the body, routed the perimeter to the template, and routed the neck pocket. This was the first time that I could really see how the body would look in three dimensions, and more importantly, test it for comfort. I clamped an in-progress neck into the pocket and sat down with the mocked-up guitar in playing position.

A few big problems became apparent immediately:
- The tight corner on the upper bout was uncomfortable under my arm. The design incorporated an arm carve that I hadn't done yet. Maybe that would work out in the end. (The dotted lines in the drawing indicate where the body was to slope down towards the sides.)
- The combination of a tight waist and truncated lower horn made it hard to balance the guitar on my thigh. This was a much bigger problem with no clear solution.
I decided to set the see if the arm carve would solve the first problem. If it did, then maybe I could retain that aspect of the design and limit any revisions to the lower waist and horn. I never mind getting some extra carving practice in, anyway. Having done that, I found that the arm carve improved comfort but didn't solve the problem. I could still feel that corner more than I liked. I tried adding a second plane to the arm carve so it would really fall off at the corner, which helped a little more but still didn't eliminate the discomfort. The problem was inherent in the body shape and anything I could do to solve it would violate the integrity of the shape. It was time to rethink the whole design.
