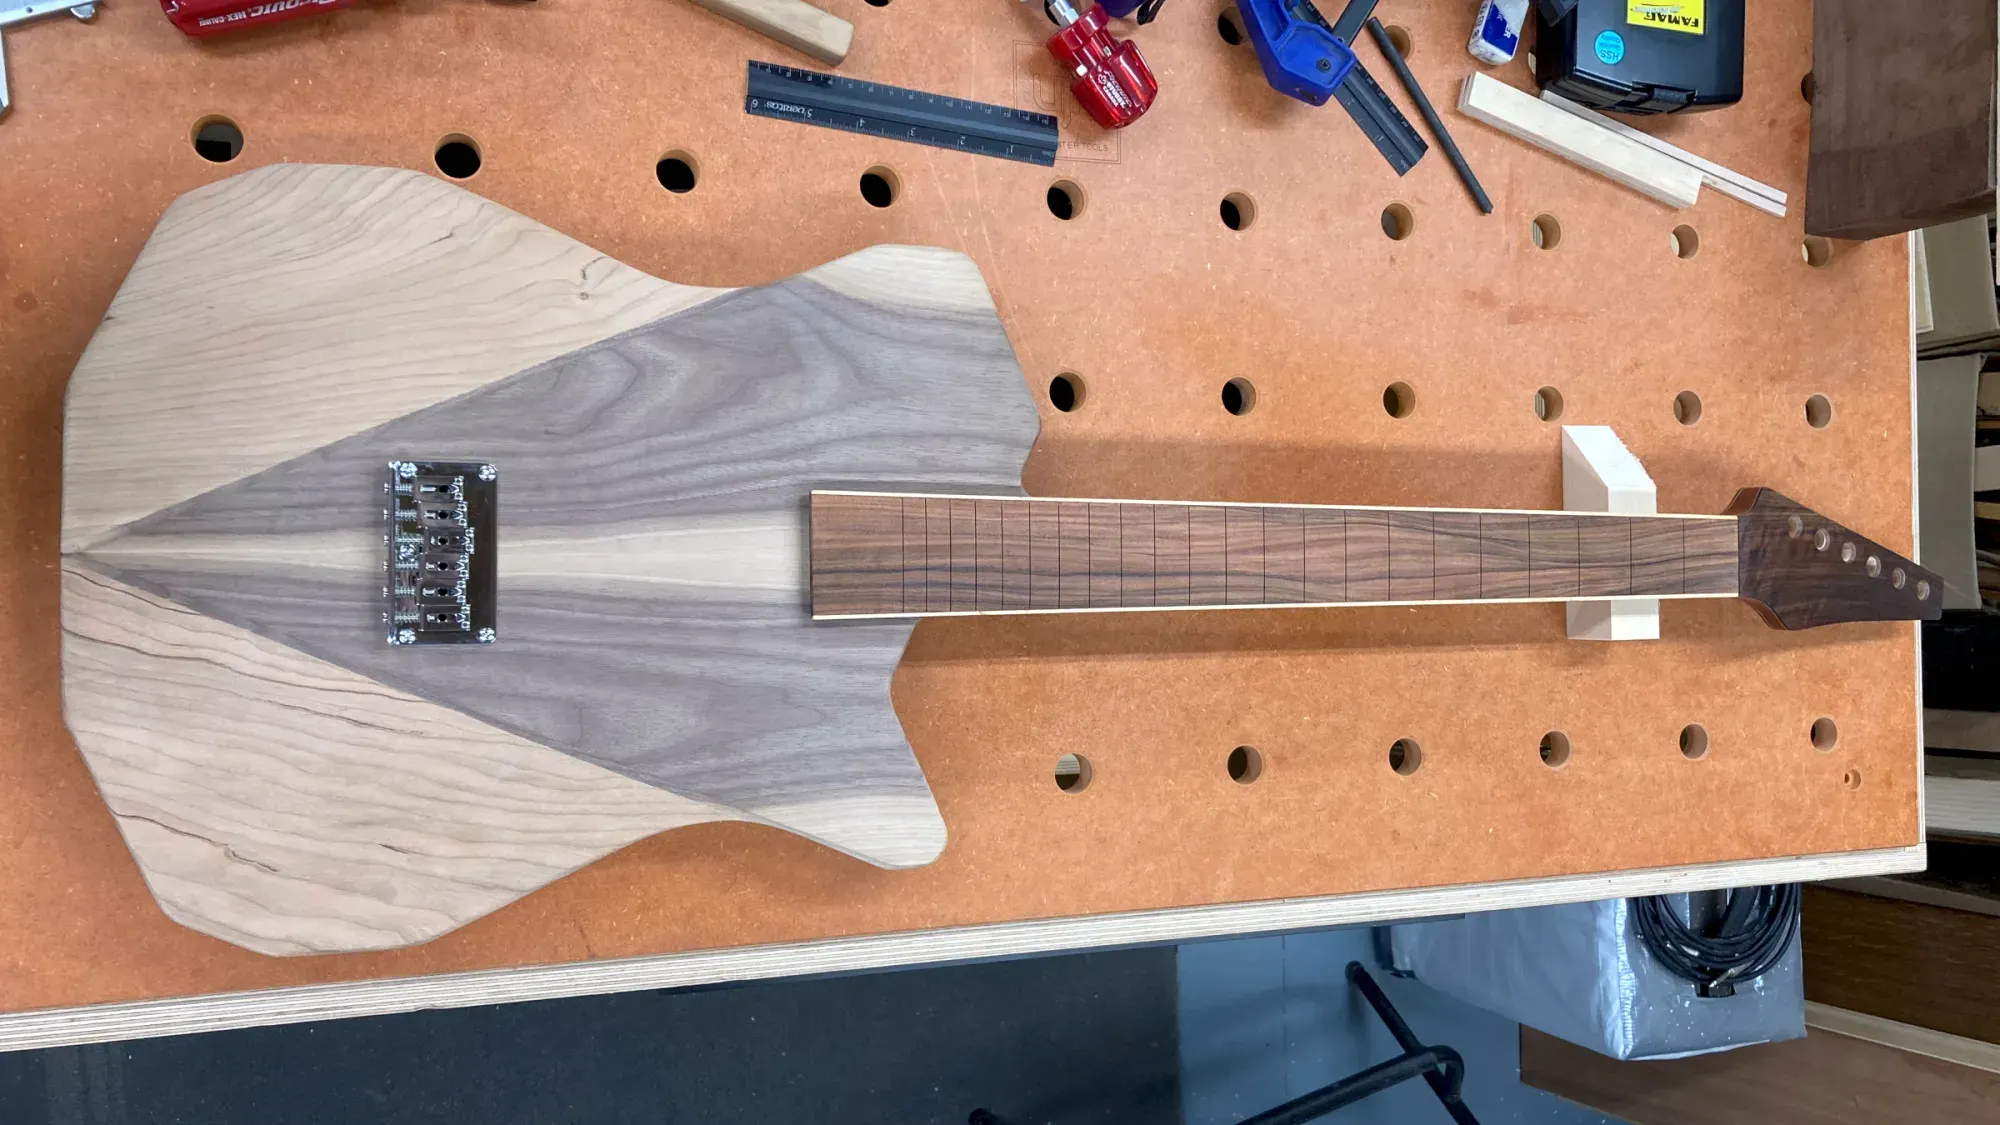
At the end of part one, both of my prototype bodies were complete enough to be able to fit the bridge and neck. Knowing precisely how these elements fit will allow me to check the guitar's geometry and make decisions about pickup placement.
Bridge and Neck Installation
I started by drilling the rest of the string-through holes and mounting holes for a standard S-style hardtail bridge. This is a variation on the T-style design, but the S-Style bridge opens the door to a wider variety of bridge pickups. It wouldn't be terribly difficult to make a "pure" T-style variant with the traditional bridge and pickup if someone wanted it.
I also drilled counterbores and holes for the neck screws. These accommodate M6 furniture screws with 15mm diameter flat heads, which will mate with threaded inserts in the neck heel. This arrangement has several benefits:
- Threaded inserts won't wear out over time like bare wood screw holes, even when the neck has to be removed and reinstalled repeatedly during setups.
- The flat heads provide a large bearing surface that eliminates the need for a neck plate, which means you can shape the back of the neck block for comfort. (You also don't need additional ferrules to accomplish the same thing, like you would if you used countersunk screws.)
- The hardware is easily available and inexpensive. Four screws and inserts of the size you would typically need for a neck joint cost around $4-5 CDN.
An M6 screw has an outer thread diameter of 6mm but I drilled 6.5mm holes to allow a small amount of play and prevent the threads from binding against the screw holes. 7mm would also be reasonable. The 15mm diameter counterbore is about 2mm deep, just enough to make the screw heads sit flush with the body.