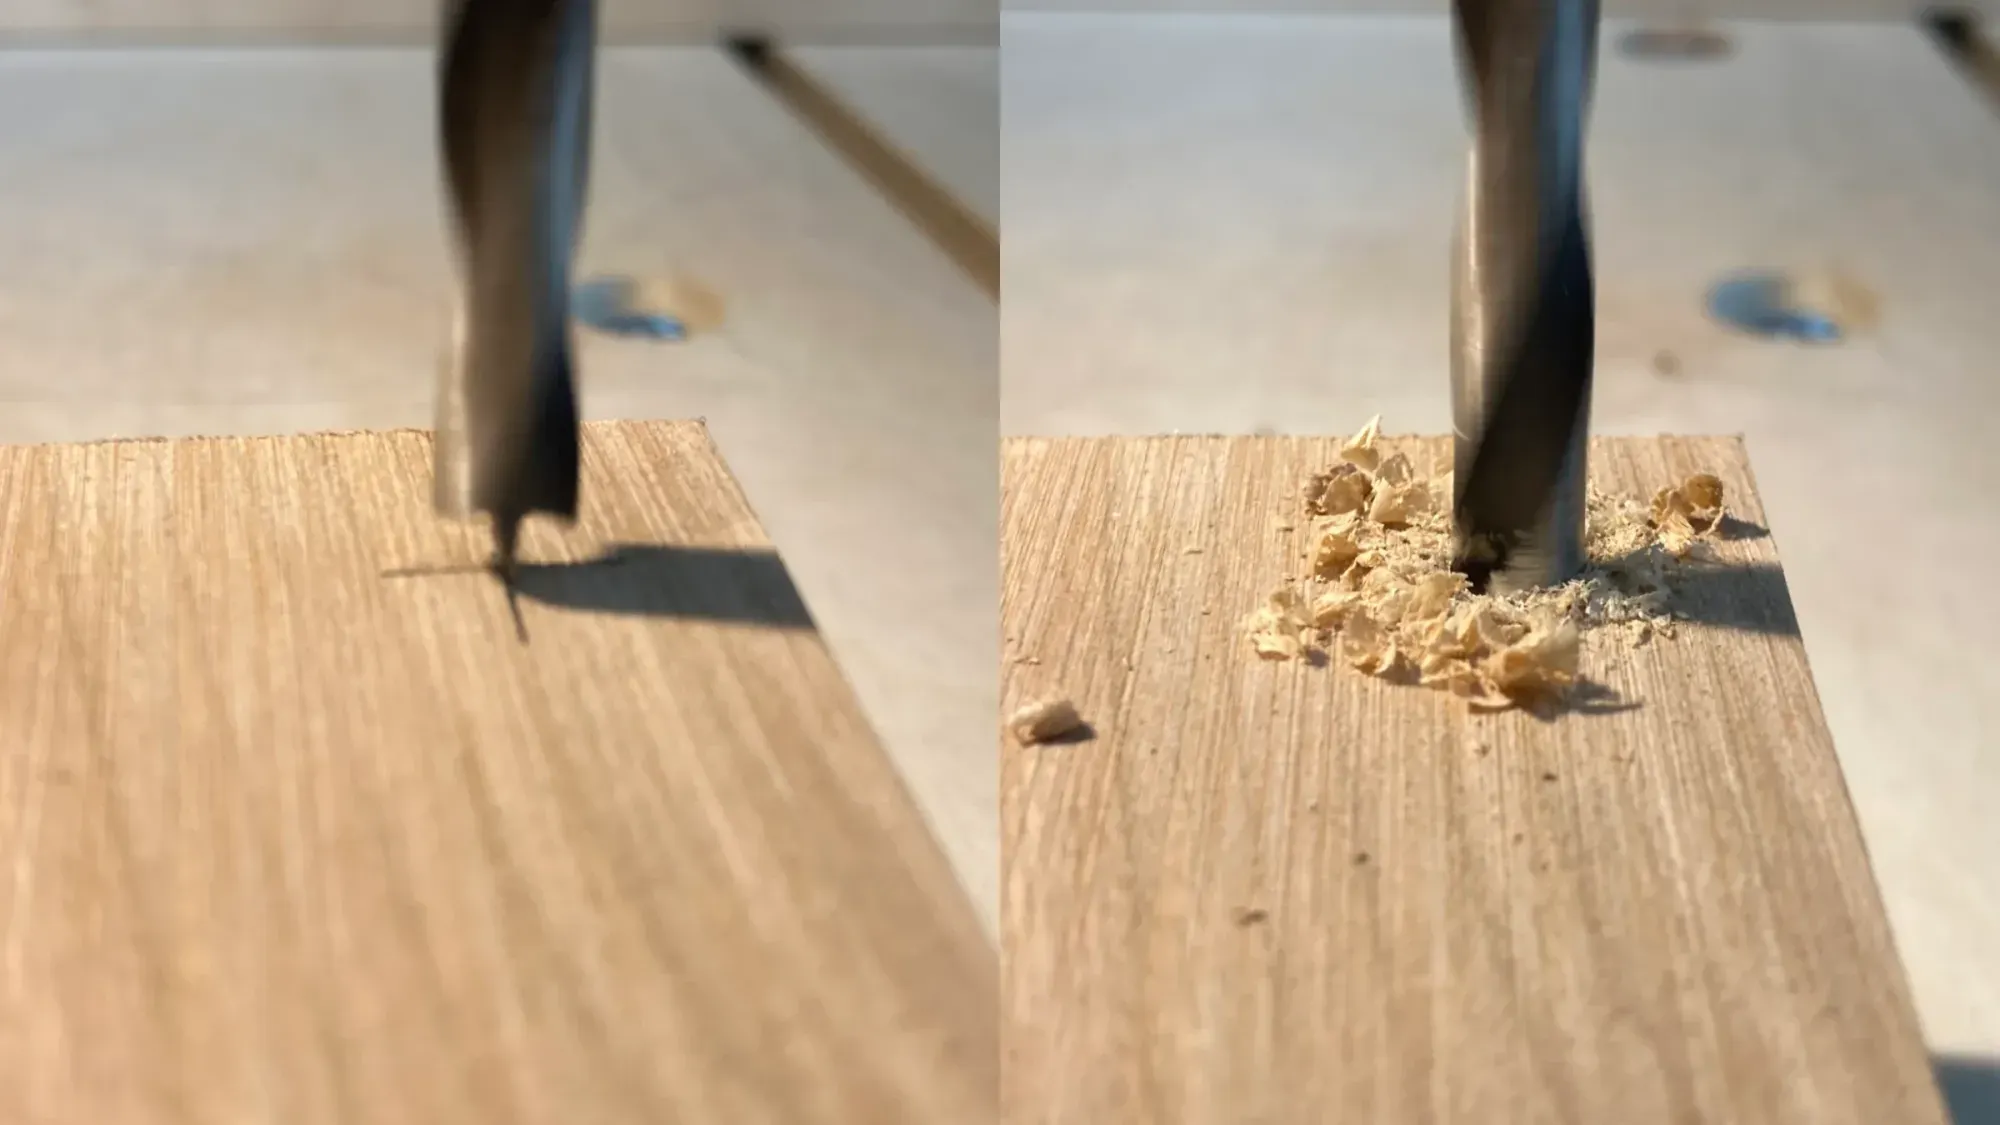
An image showing a controlled approach of the bit to the workpiece on a drill press on the left, and a controlled plunge on the right.
Controlling your approach is key to accuracy with a drill press.

Improving Accuracy at the Drill Press

Drilling accurately placed holes can be difficult, even with a drill press. Fences and clamps can help but they add setup time and still can't guarantee accuracy. Set those aside and improve your results by practicing this simple technique.

Before You Begin

You'll need:

  • A drill press.
  • High-quality brad point drill bits. A poorly milled or dull bit won't be accurate, so avoid buying the cheapest of the cheap.
  • A pencil, ruler and fine-tipped awl for marking.

Install the bit in the drill press. Tighten the chuck by hand first, then with the chuck key using all three keyholes to apply even pressure around the bit. Doing so will reduce runout, which is the drill's tendency to wobble off-center as it spins.

Mark the Center Point

A drill will always follow the path of least resistance. If you try to start a hole at an arbitrary point on a piece of wood, there's a good chance the drill will find an easier entry point nearby and start there instead. This is true of all drills and all types of wood, and using a drill press with a brad point bit doesn't automatically solve the problem. You need to help the drill find the correct position.

Start by marking the position of each hole by drawing a cross with a pencil and ruler. If you're marking for a row, column or grid of holes, like I do for my reusable bag drying racks, draw full-length intersecting lines across the whole workpiece. Don't try to measure and mark each hole separately – you won't be consistently accurate. Drawing the full grid will help you spot mistakes before you drill.

Once you've made your pencil marks, carefully make a small indentation at each cross or intersection with a sharp awl. These should be no larger than the brad point on your bit. If you make them too large, they will swallow the brad point rather than guiding it, and the bit will be able to skate away from your marks.

An image showing the center point for a hole marked with a cross drawn with a pencil and indented with an awl.
Mark the center point with a pencil and indent it with an awl.

Control Your Approach

The key to this technique is to approach your mark slowly. Lower the drill until the brad point is just hovering over the workpiece. Align the point with the mark by eye, then lower the drill again, slowly and carefully, just enough to insert the point into the indentation without letting the spurs touch the workpiece. Keep a steady hand on the workpiece but don't try to force it to stay where you think it should be. Let the brad point and the indentation negotiate the precise position of the workpiece for you.

An image showing a brad point drill making contact with an indentation in a piece of wood.
Approach slowly, and let the brad point and the indentation negotiate the precise position of the workpiece.

Plunge the Drill

You've found the center when you can see and feel that the indentation has captured the brad point. Slowly plunge the drill while maintaining a firm grasp of the workpiece. Allow the spurs to score the workpiece cleanly, then plunge deeper. If you're drilling a deep hole, back off as necessary to allow the flutes to eject waste. Hold the workpiece down when you retract the drill to prevent it from grabbing and lifting, which can distort the hole.

An image showing a drill plunging into a piece of wood.
Plunge slowly and allow the spurs to score the workpiece cleanly.

Look Ma, No Guides!

With a little practice, you should be able to improve your technique to the point where you won't need a fence or other mechanical guides for most of your drilling. This will save you a lot of setup time and help you be more efficient in the workshop.

An image showing a precisely centred hole drilled in a piece of wood.
A precisely centered hole. (Actual diameter: 1/4" or approximately 6mm)

Thank you for reading!

If you found this post helpful, please consider supporting me by subscribing or sending a tip. It will help fund my work and writing.